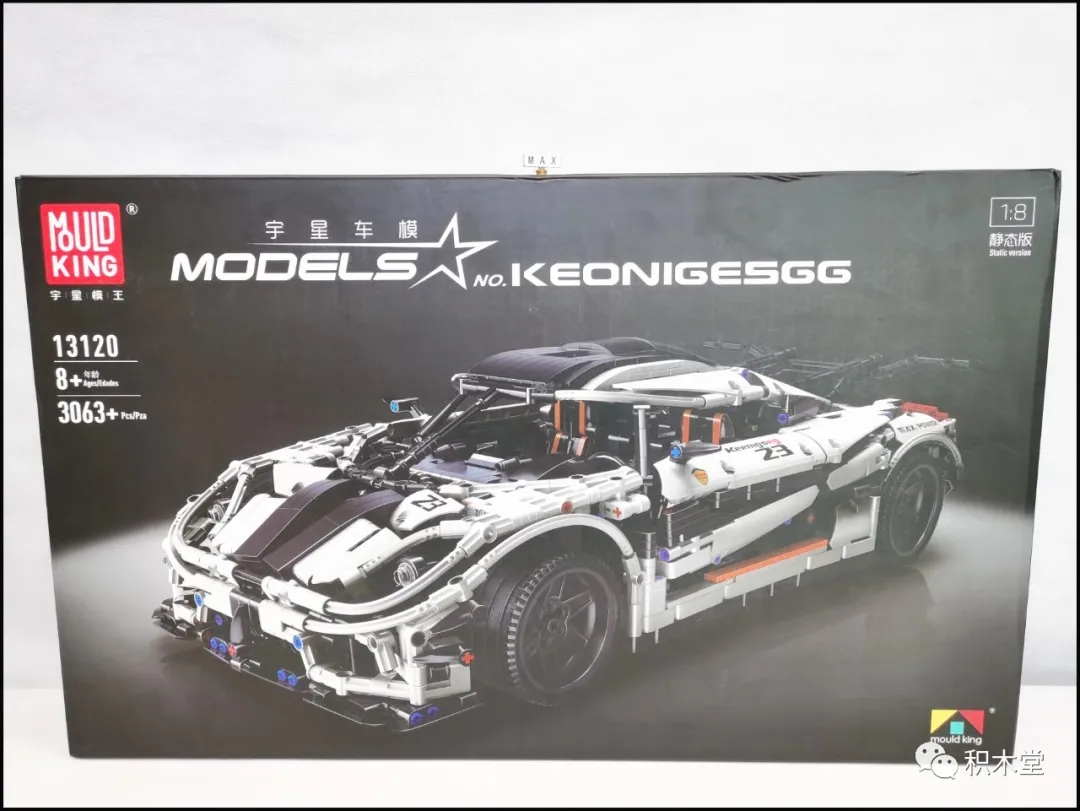
Box photo
3063 stars, the most handsome angle has been seen.

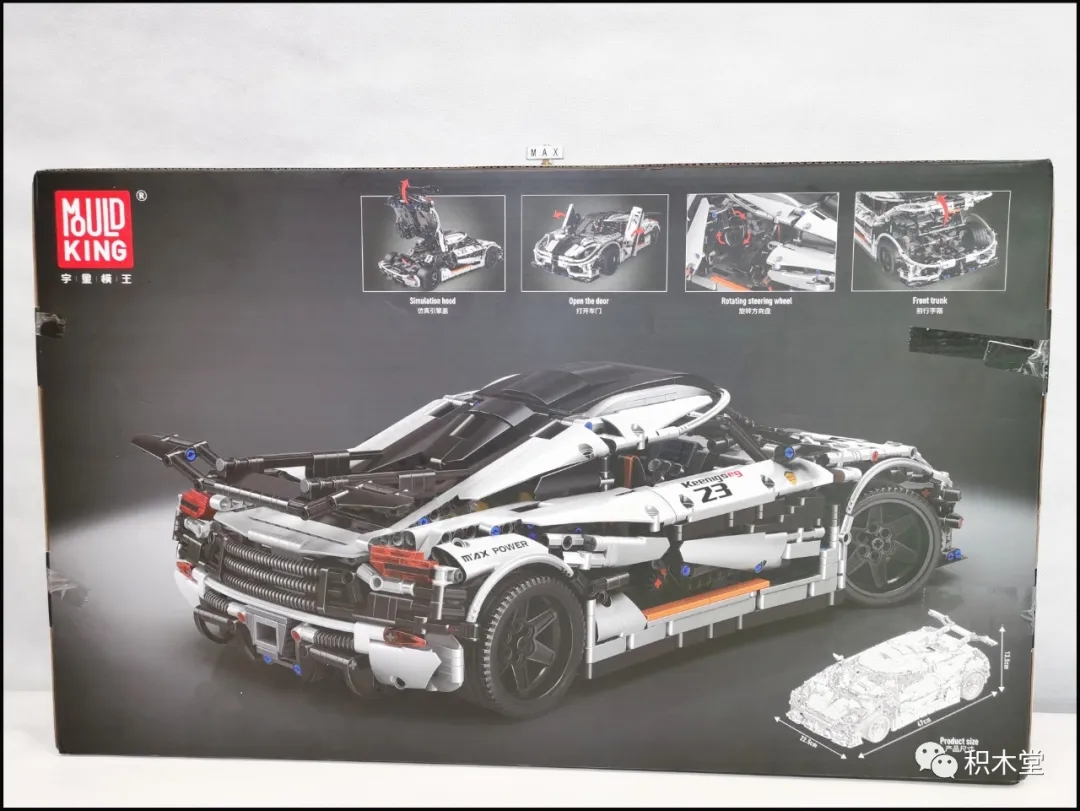
The gameplay and details are introduced at the back, and there are specific dimensions in the lower right corner.
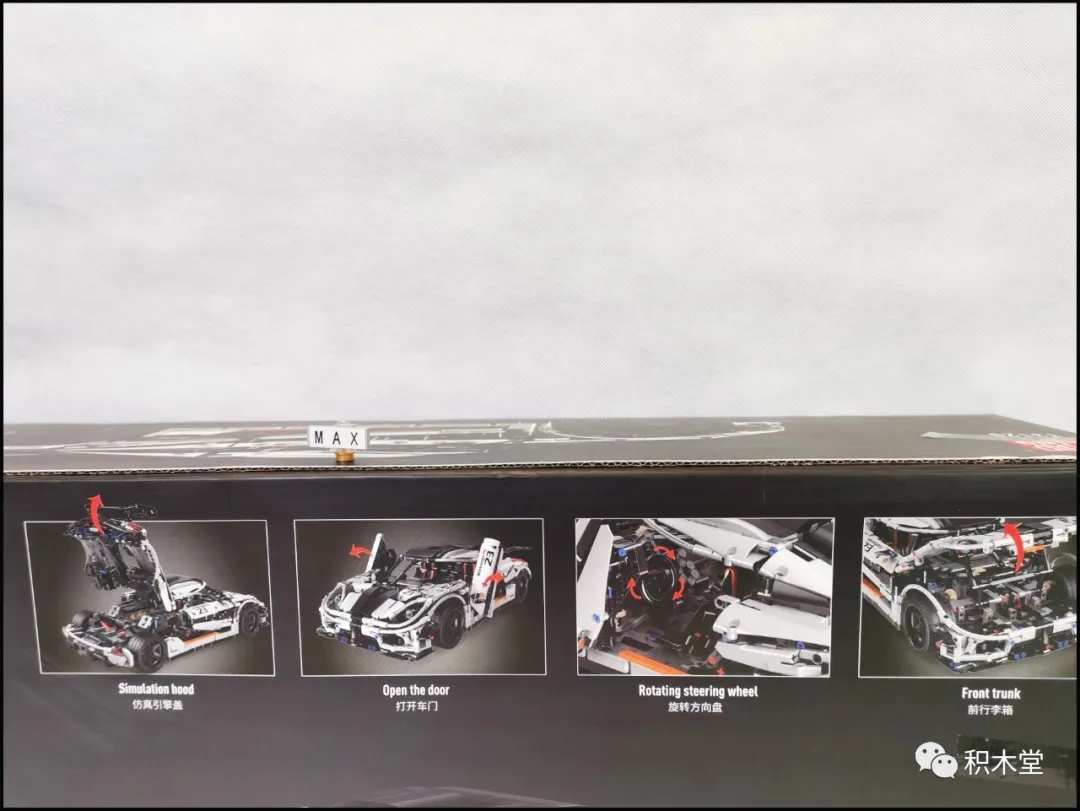
Moveable position
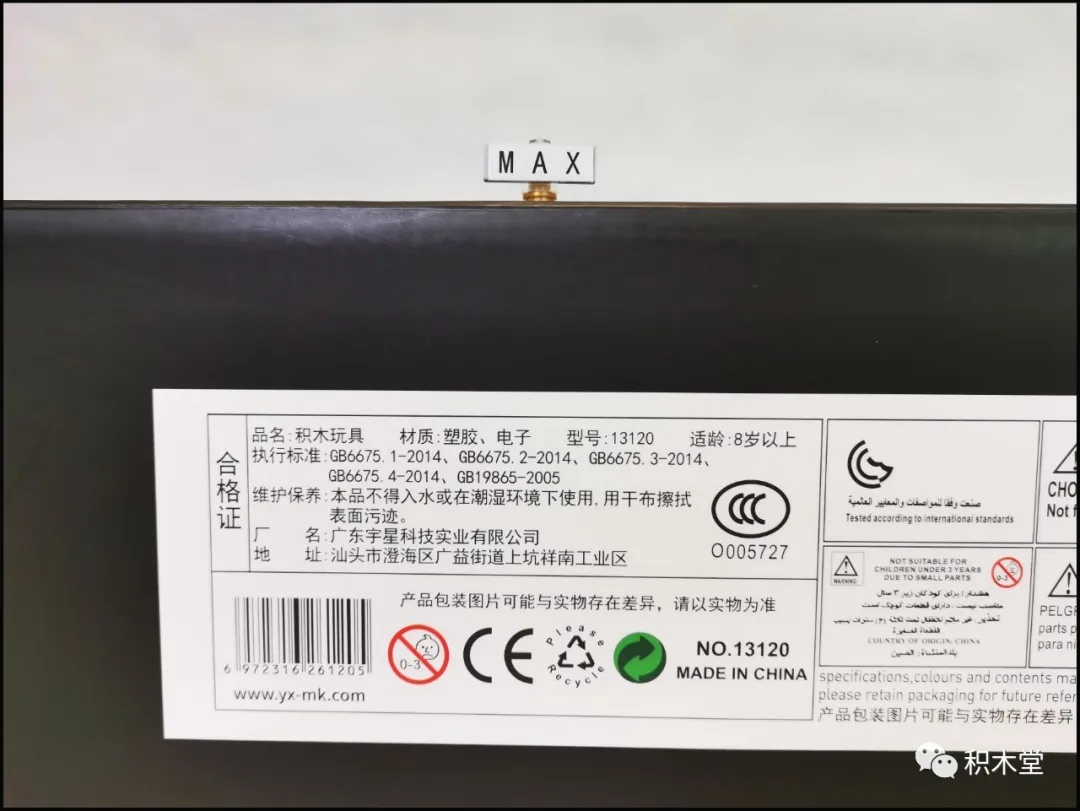
One of the best factories in the country
Contents
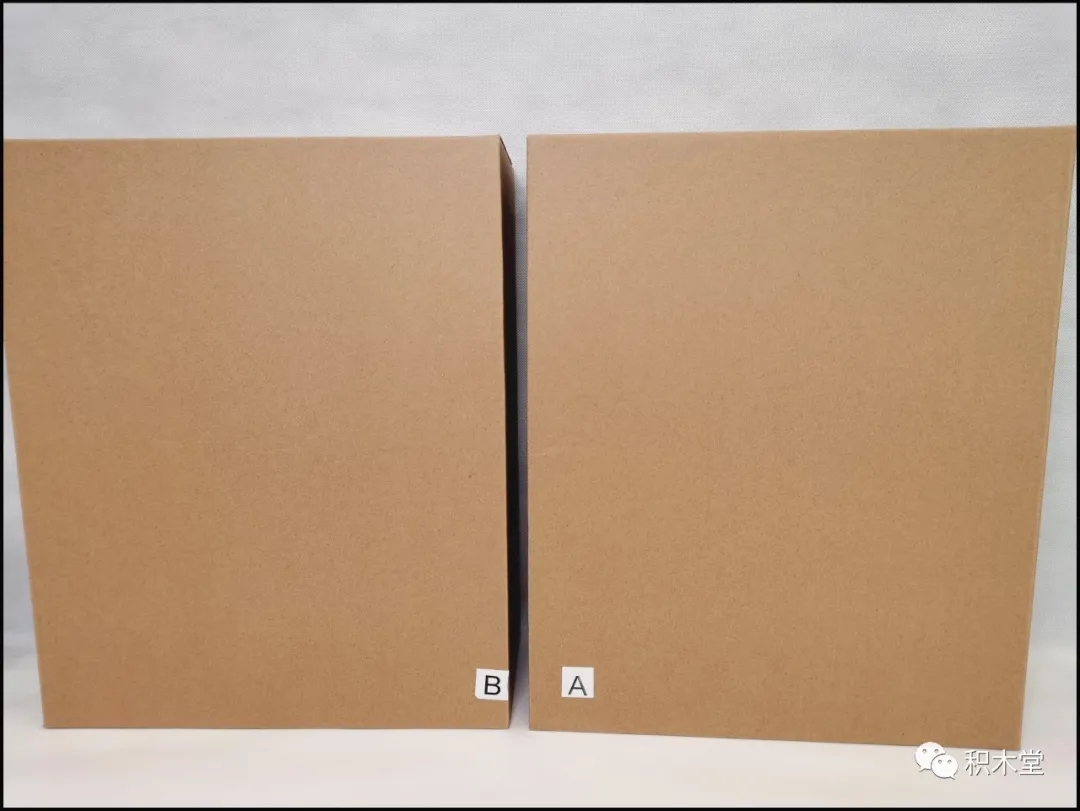
There are 2 large cardboard boxes inside, which can effectively protect the 8-corner sharp points.
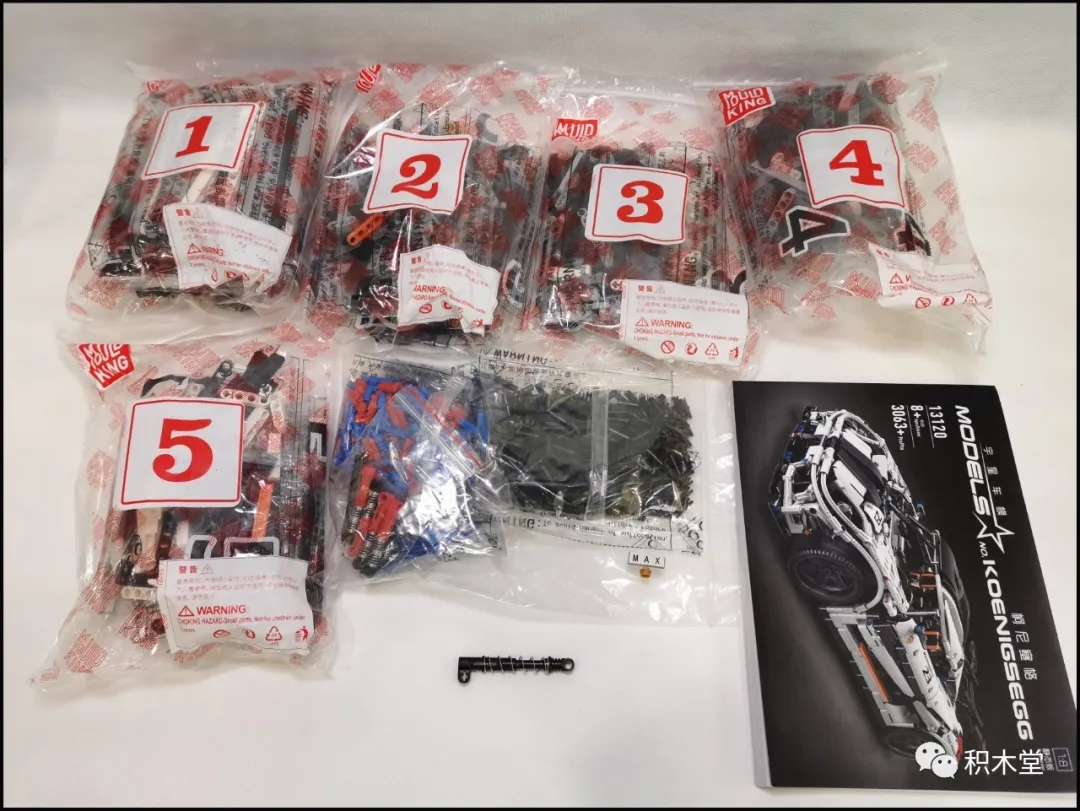
In bag A, there is a universal bag and 5 packs of building blocks, instructions, and a spring that was accidentally put in, haha.
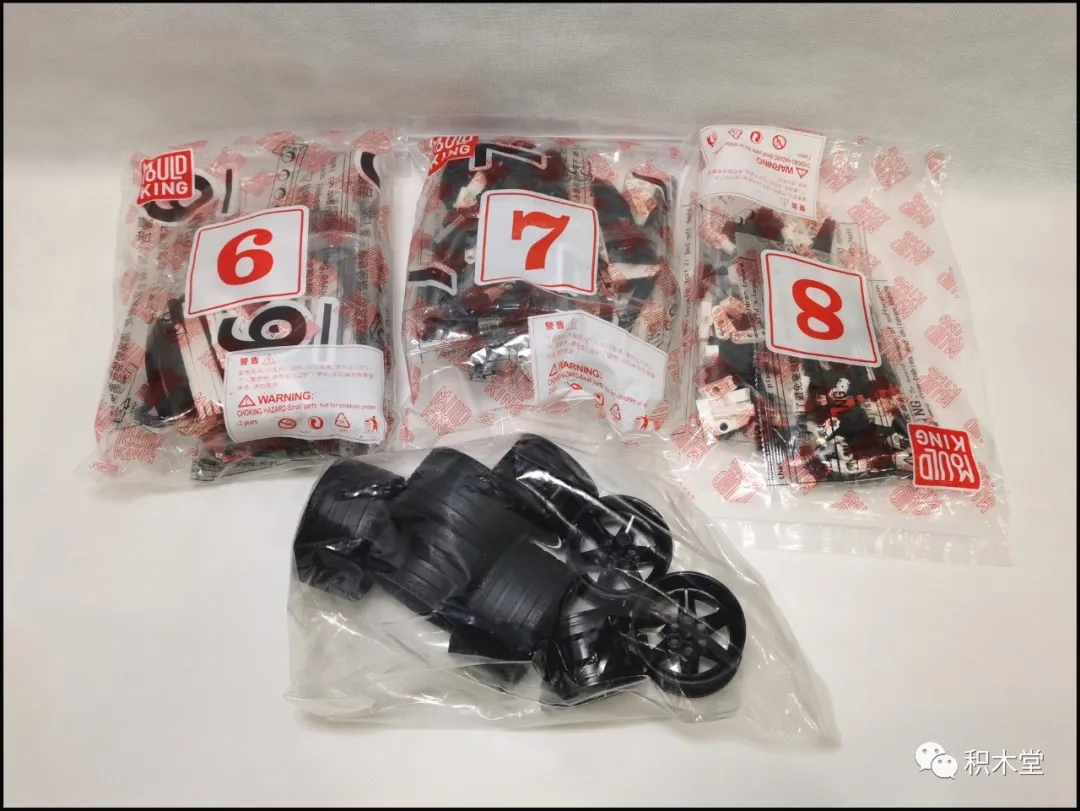
Box B contains 3 packs of blocks and wheels.
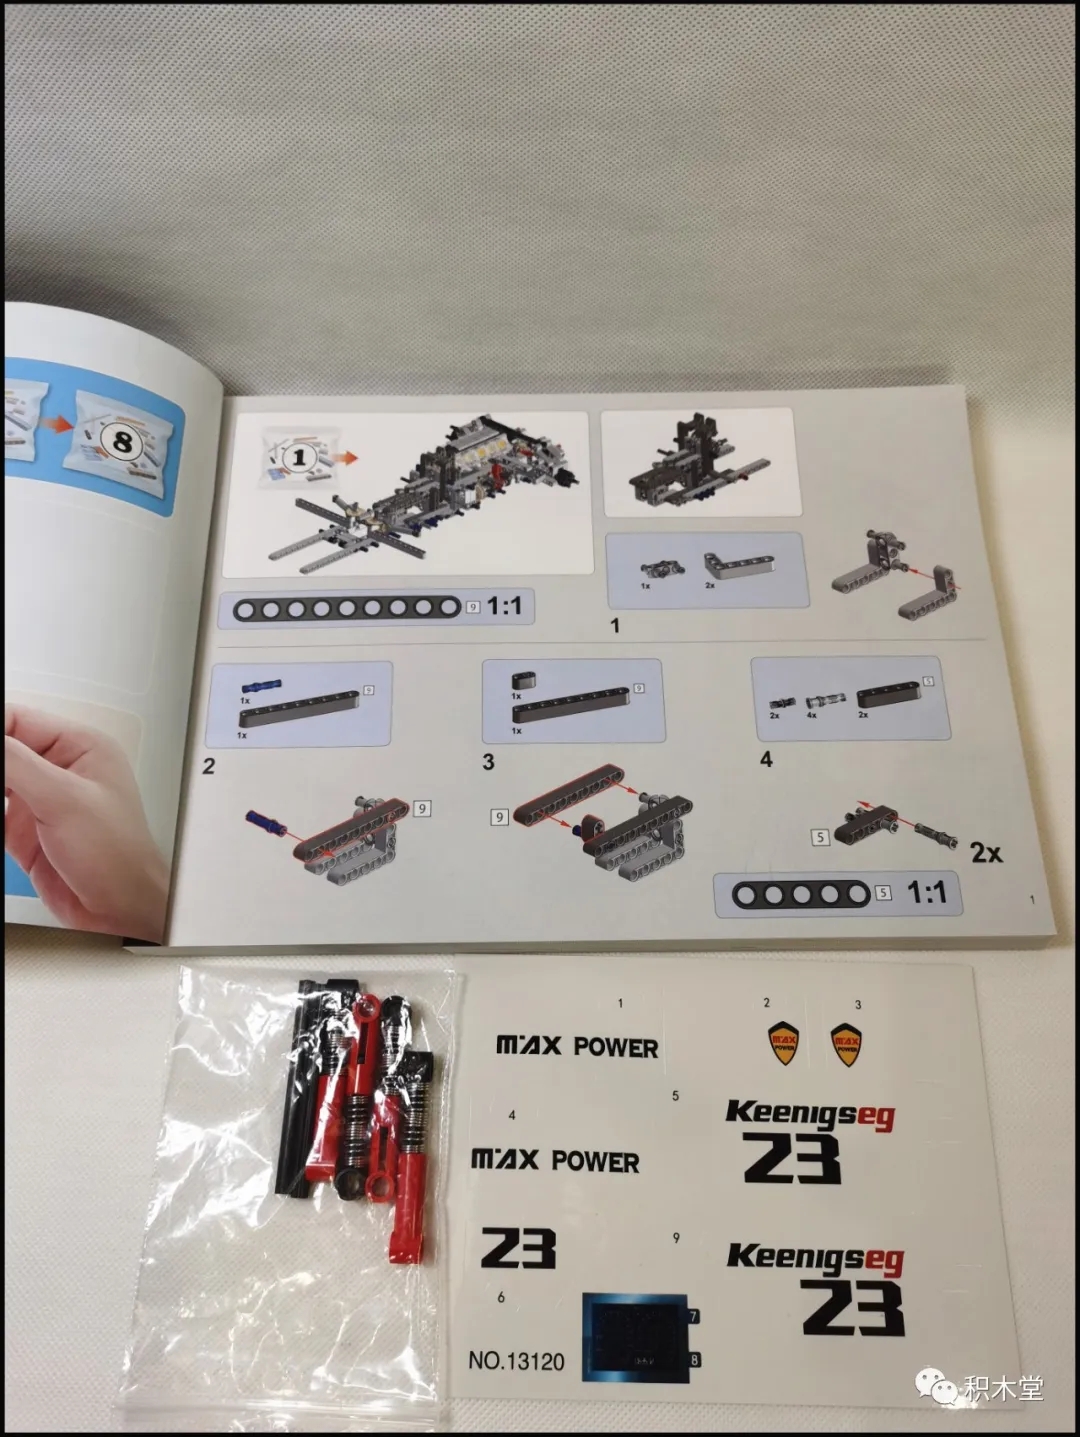
The steps are subcontracted, and the dashboard quality of the stickers is average. There are also 2 carbon fiber cross shafts.
Assembling process
Starting to fight, the placement of this brand is a suggestion from my daughter. She doesn’t like the big Batman minifigure holding the sign.
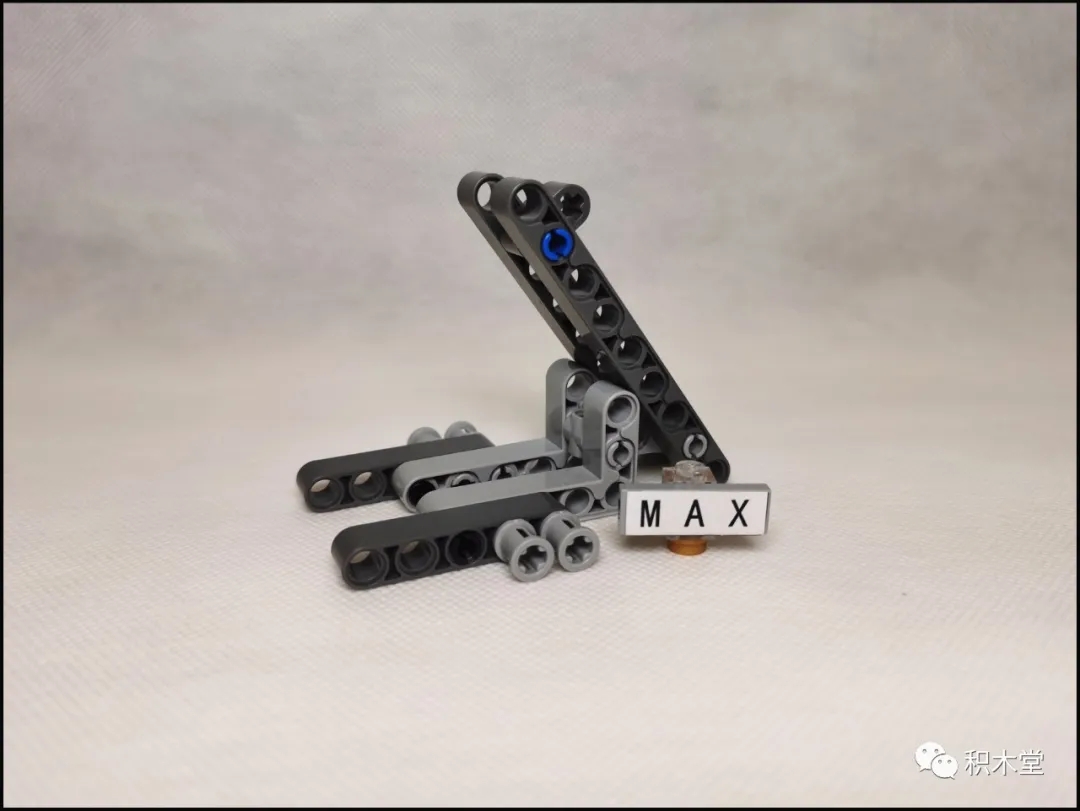
Different colored cross shafts are very effective in distinguishing left and right.
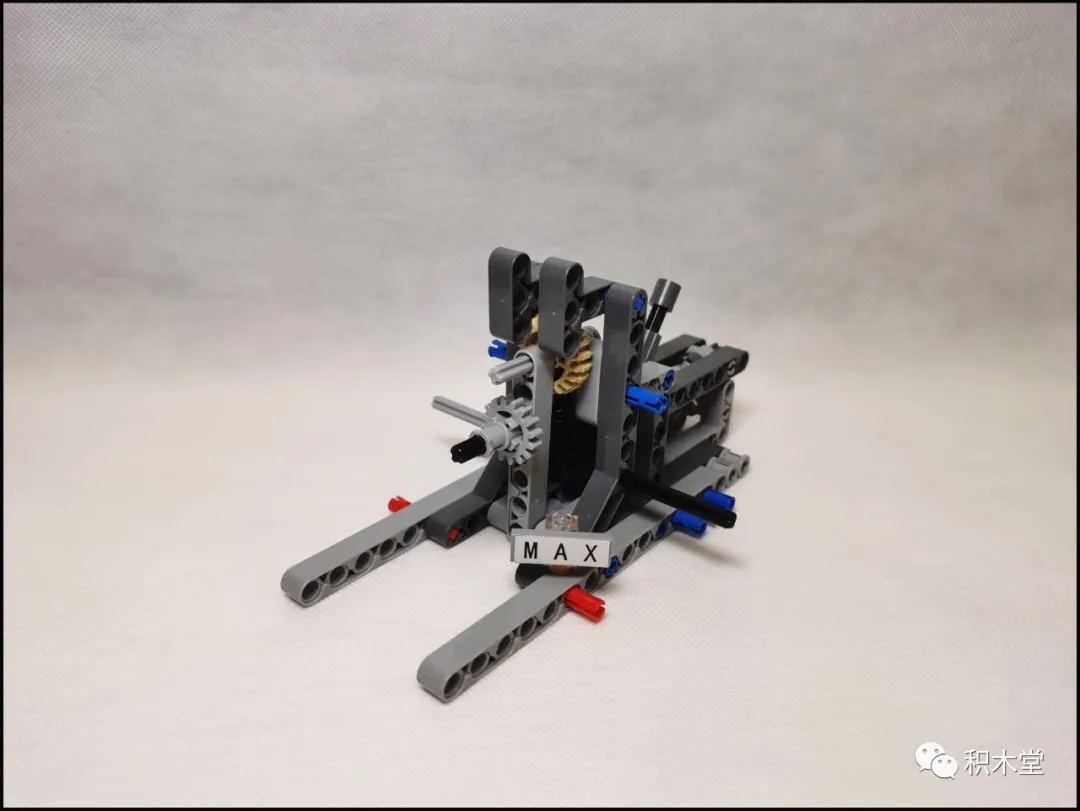
Remember, do not press too tightly on all the gears, and always test whether the linkage is normal.
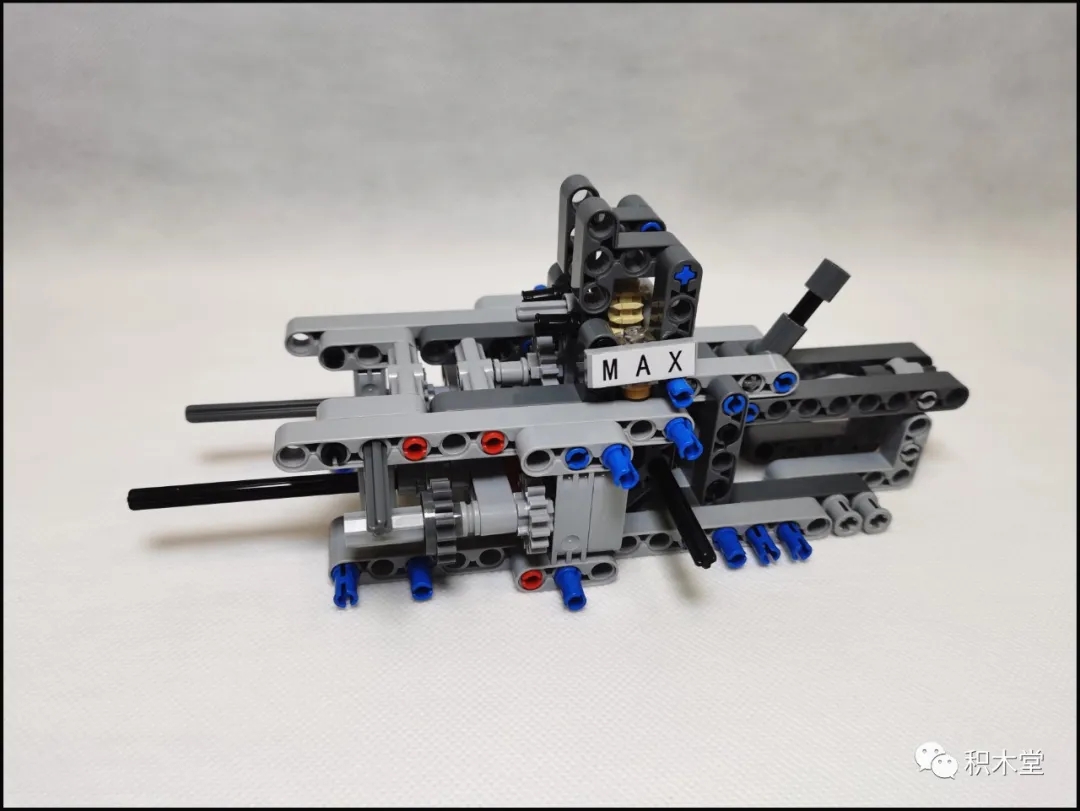
There is a problem in step 59 that is not serious, but it greatly affects the assembly experience, that is, the red gear lever is not fixed, and it will fall out at every step in the future, so there are two solutions. One: remove the red gear lever. Step 468 is put in when it needs to be assembled (but you may forget it). Two: Just like the editor, use a cross buckle to block it, and finally remove it.
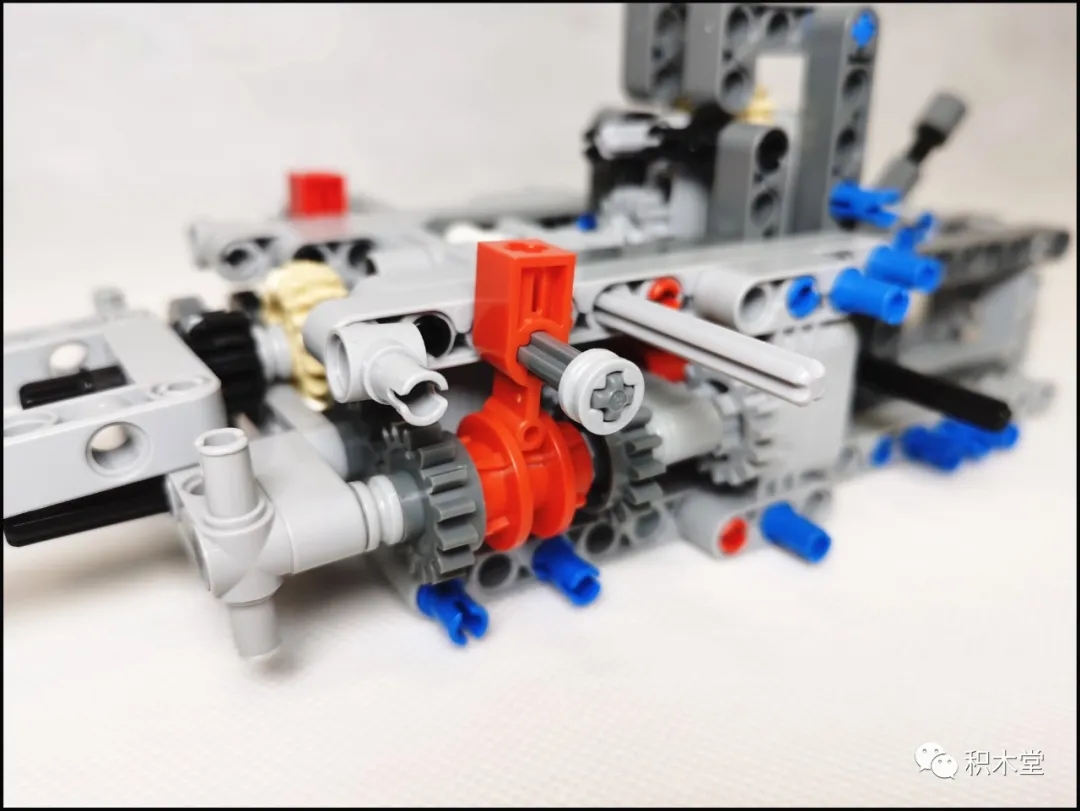
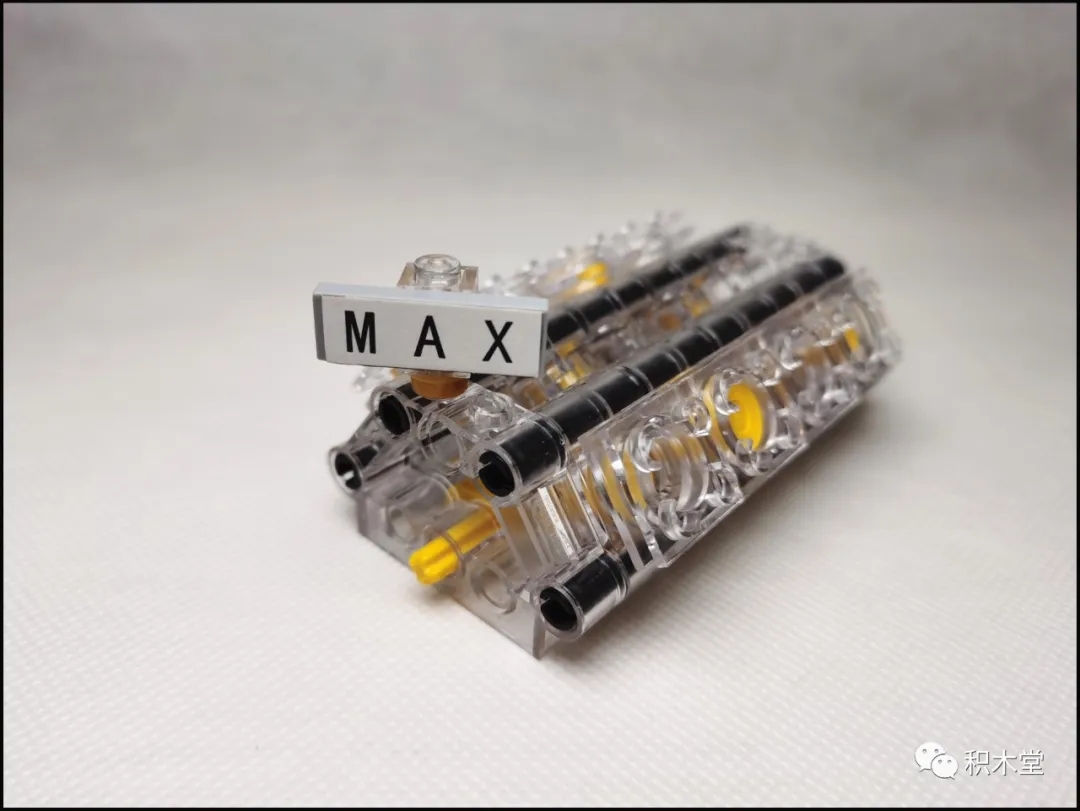
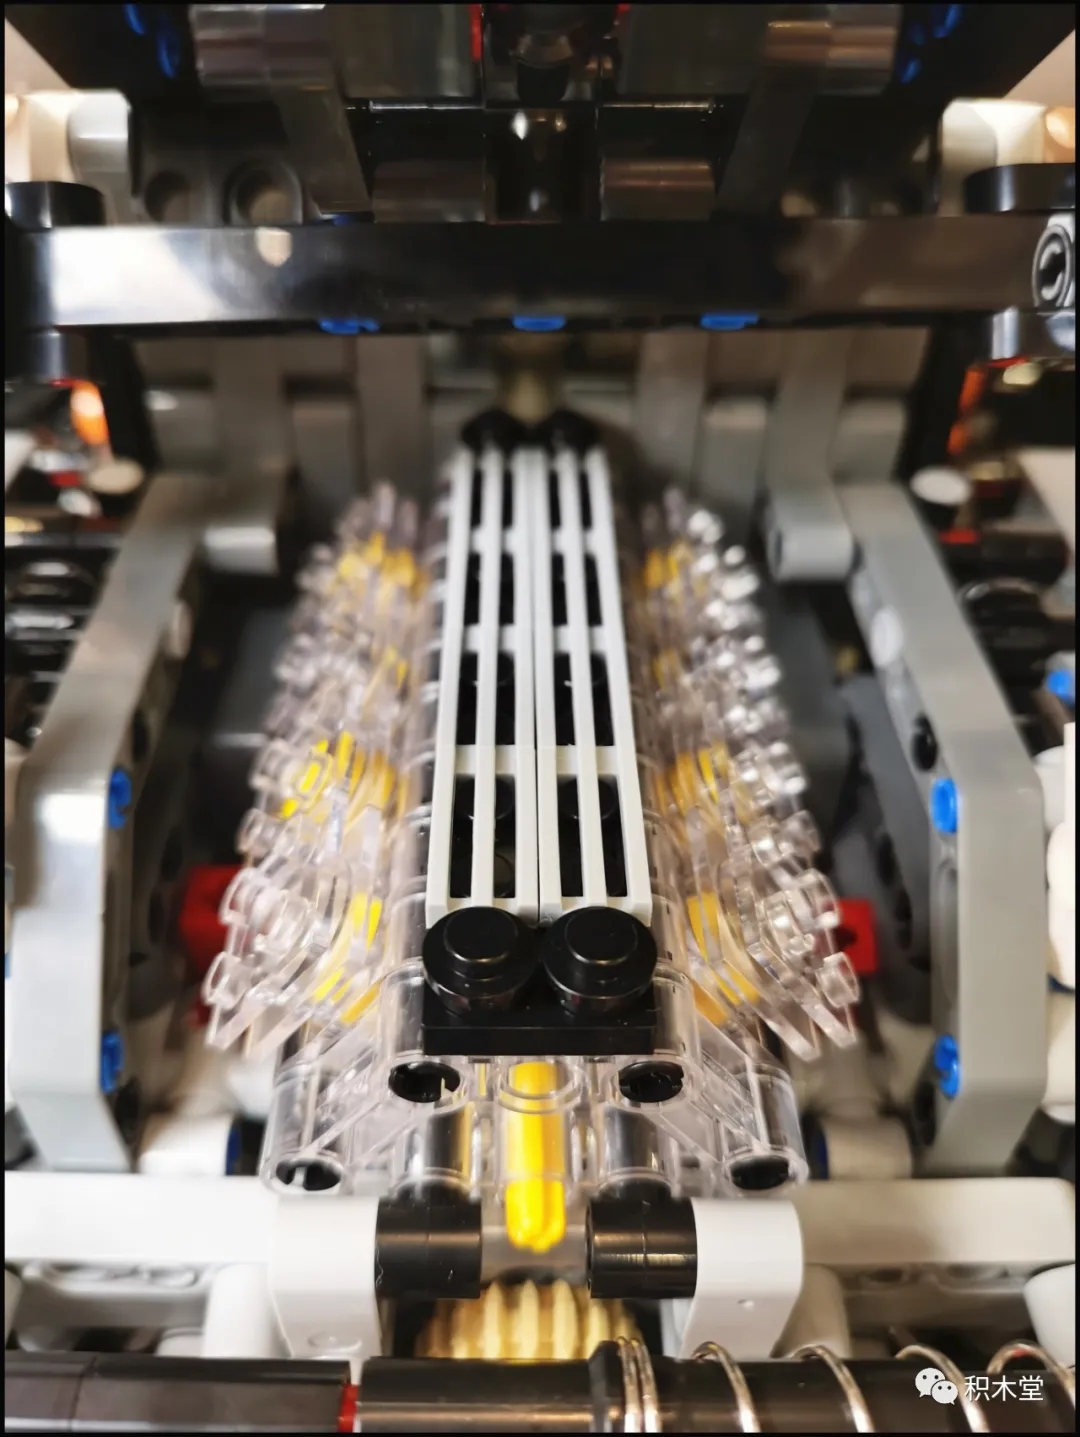
Transparent v8 engine, beautiful!
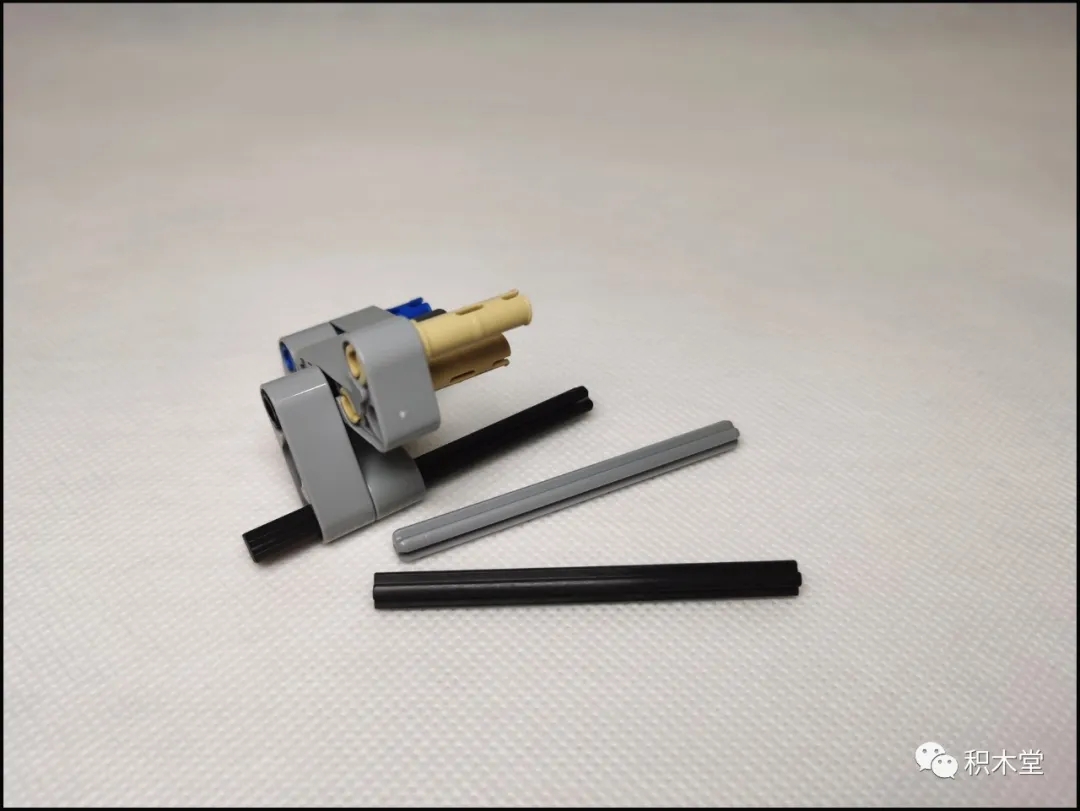
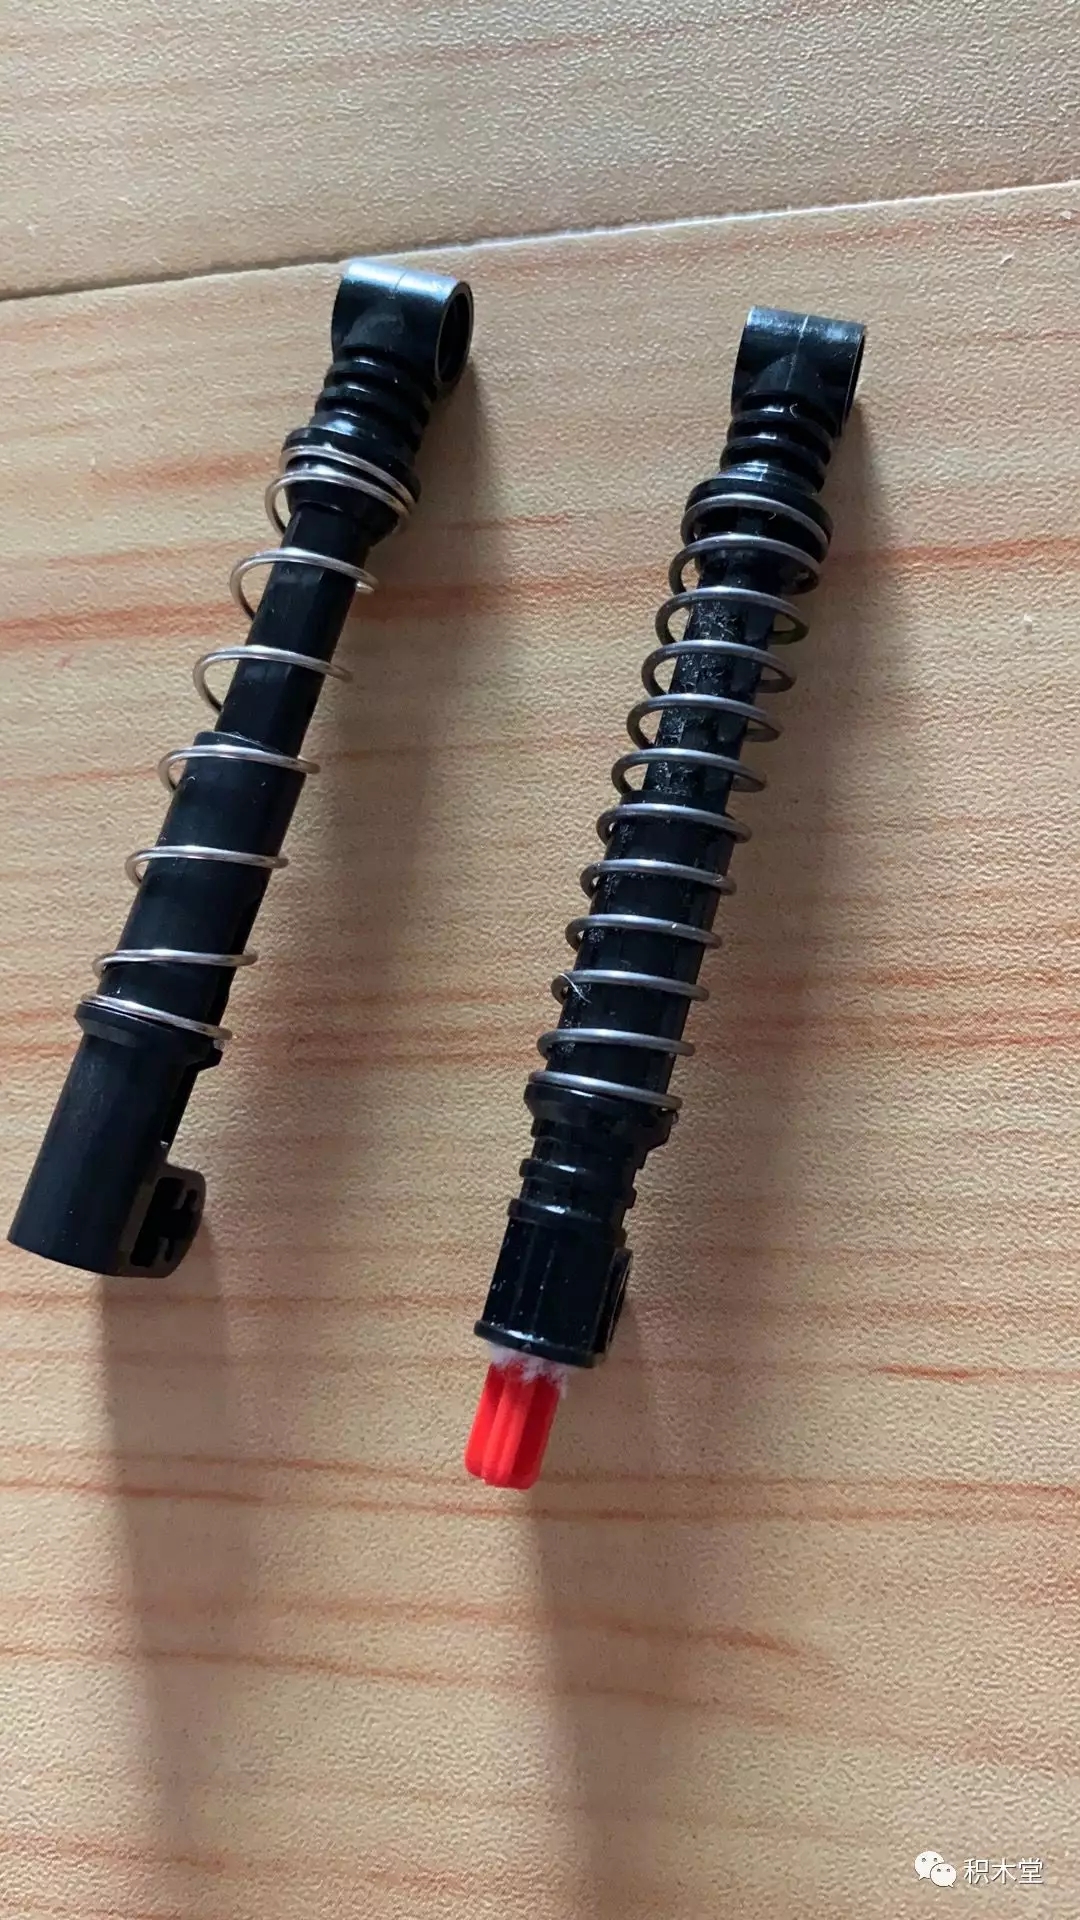
In step 109, this spring is too tight, so the red cross shaft cannot be inserted completely.
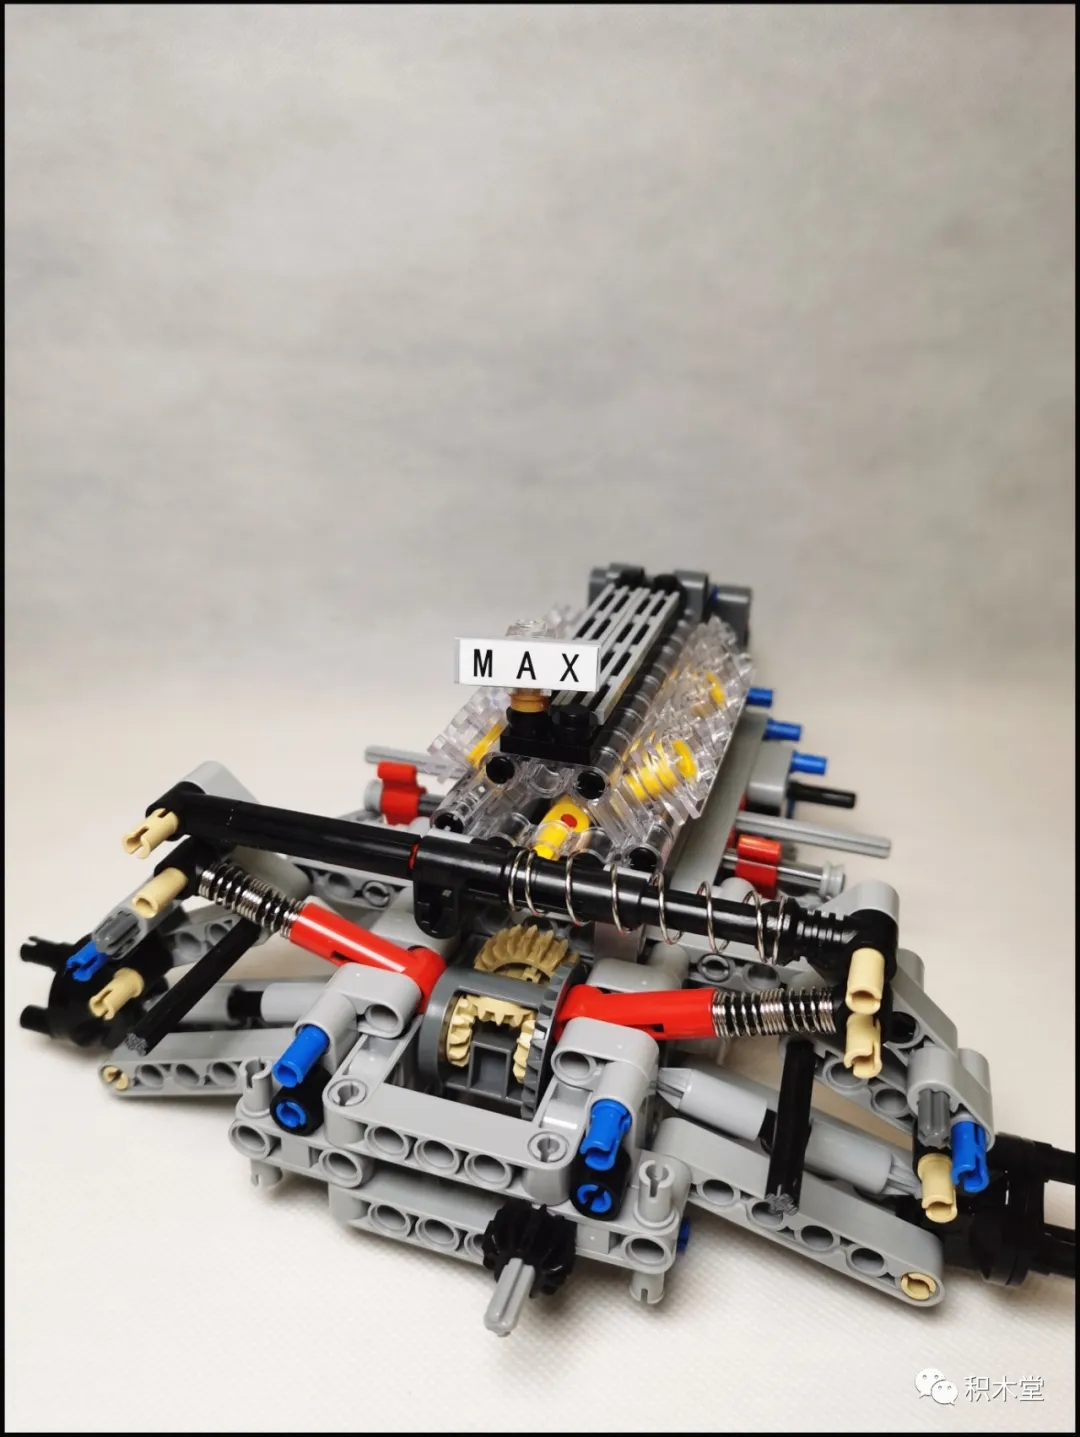
The comparison chart of a certain friend provided by Jieyou, but the obvious hole of the friend is too big, so it is necessary to put a paper towel to keep it loose.
It should be noted here that the small putter is retracted to the innermost side.

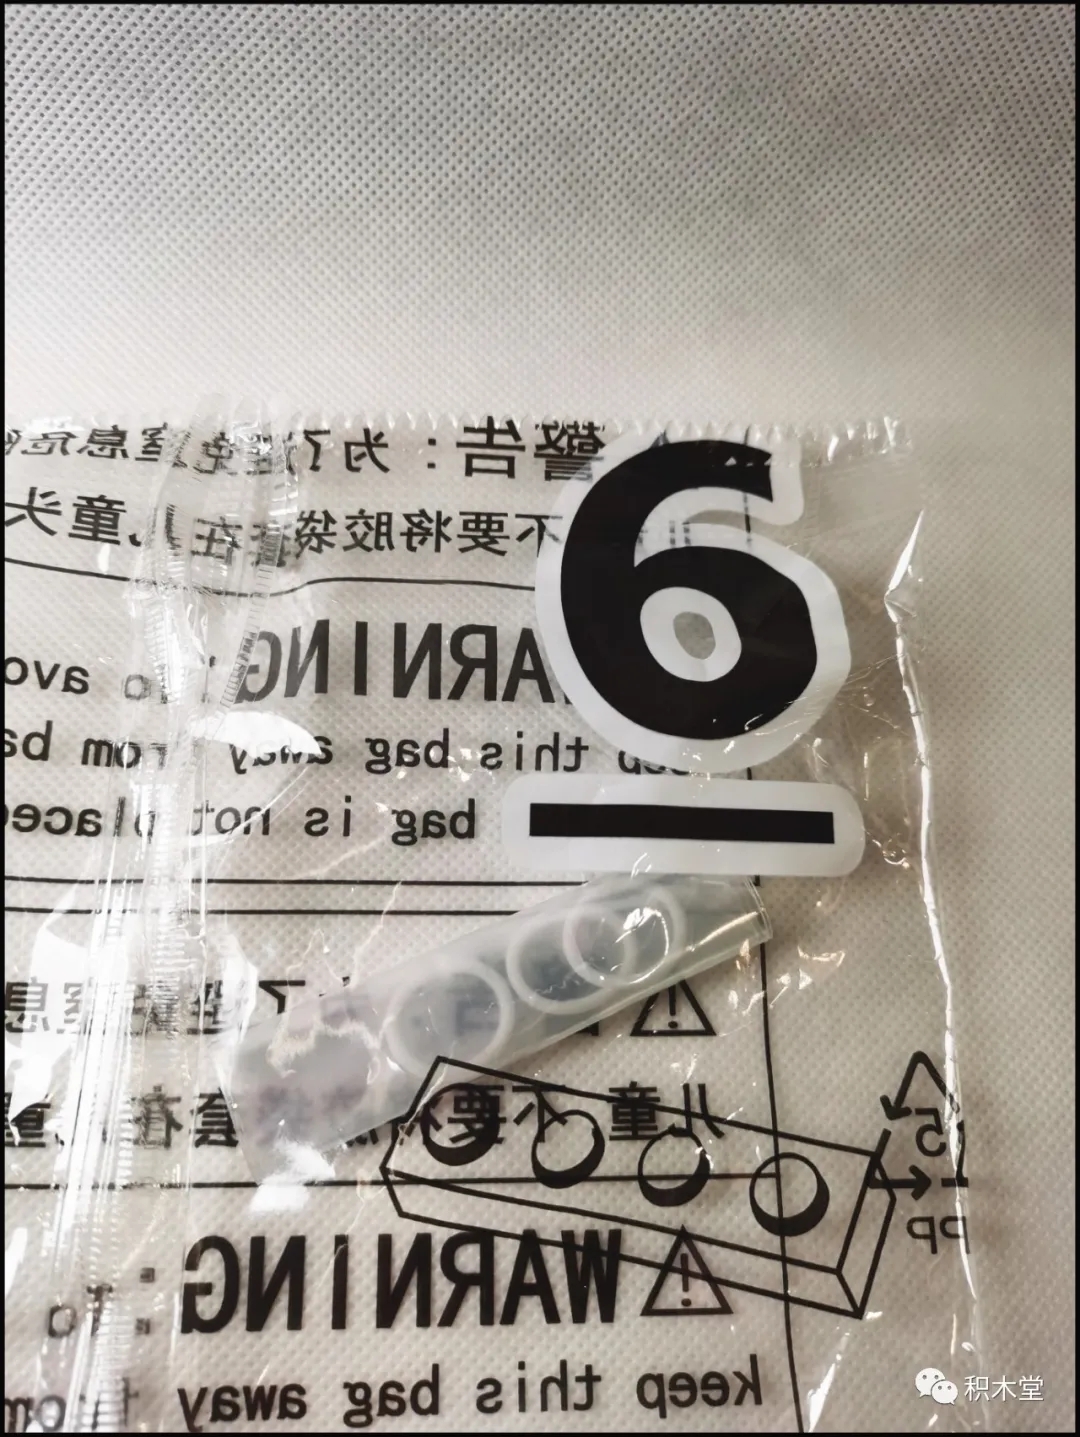
Step 152, the small rubber ring needed, many friends said that it is missing, in fact, it is in the No. 6 bag, so don’t worry.
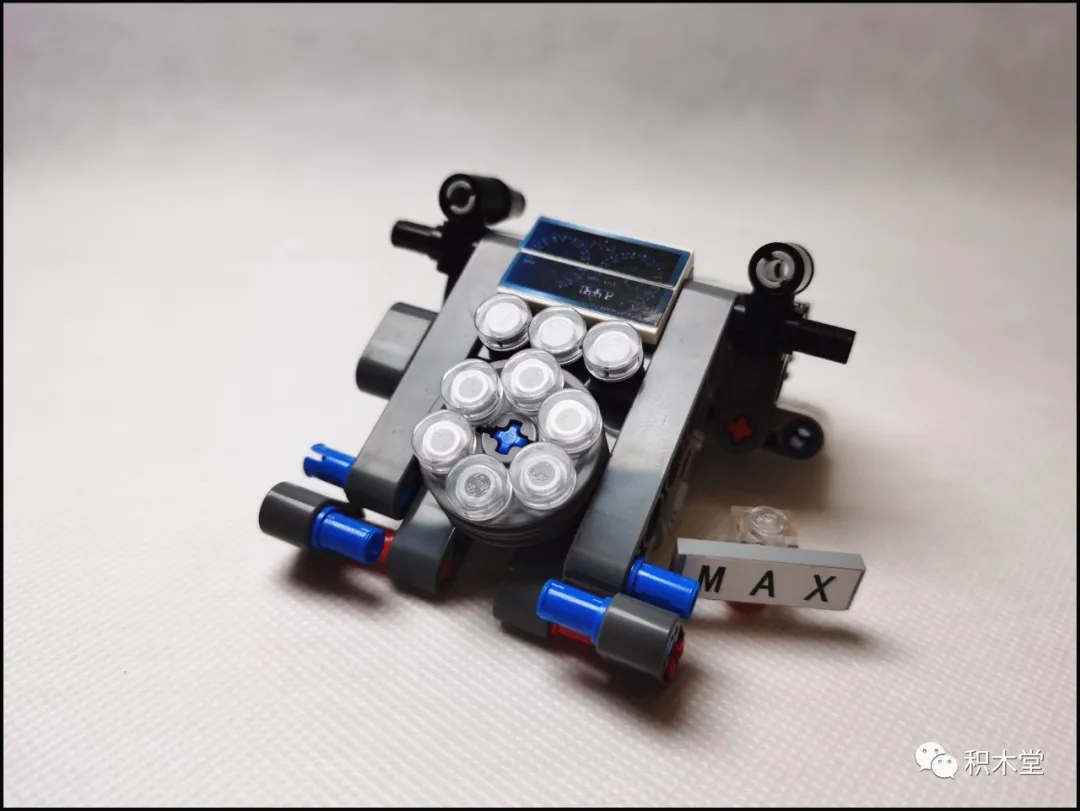
Left-wheeled center console, is the instrument in the middle of this real car?
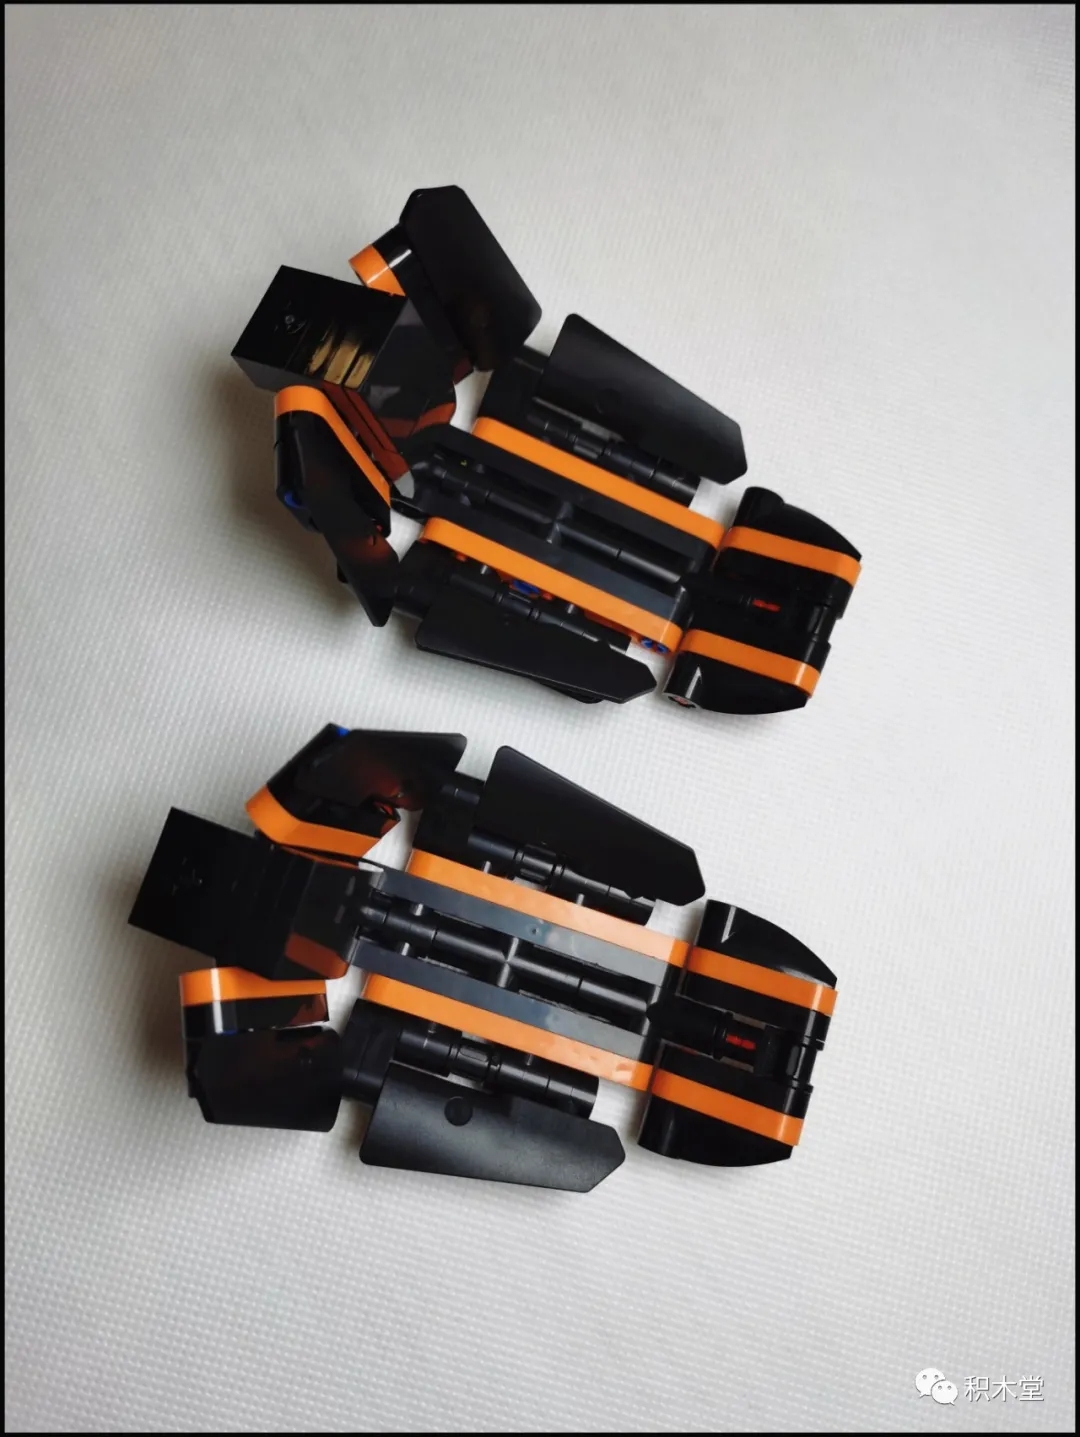
The traffic jam seat, the color is nice.
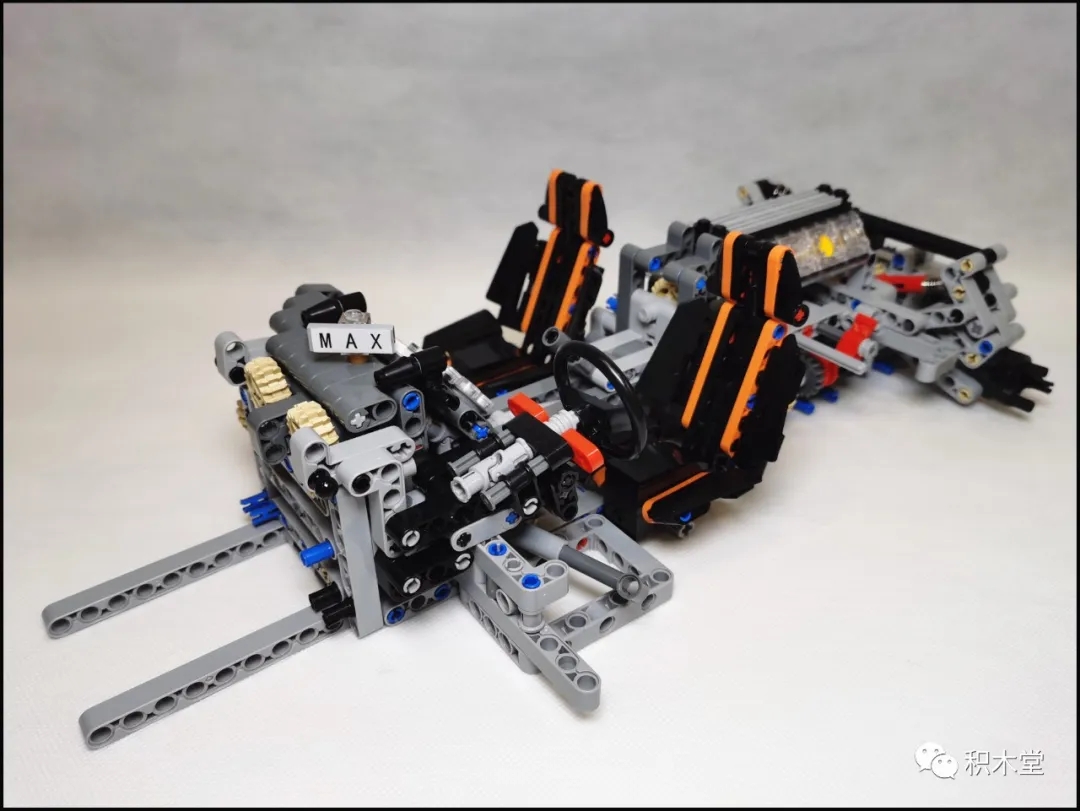
The steering wheel is of course the normal linkage.
The usefulness of the other 2 rubber rings.
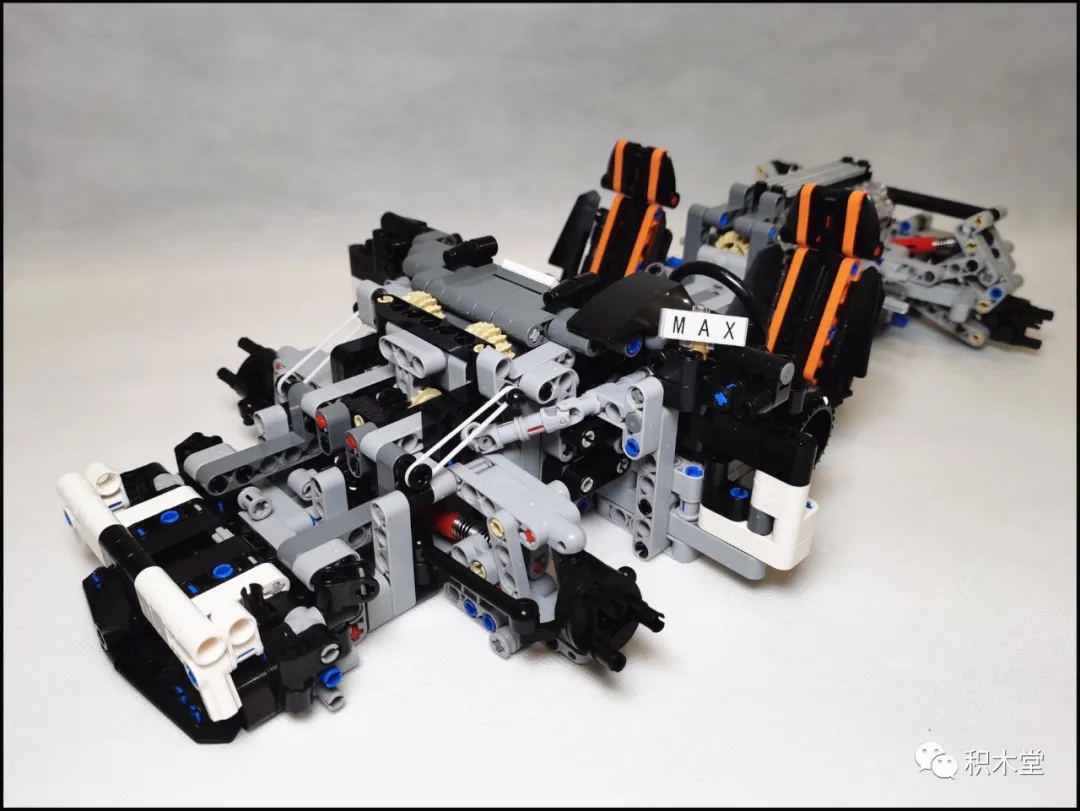
The crossbar at the front of the car looks nice!
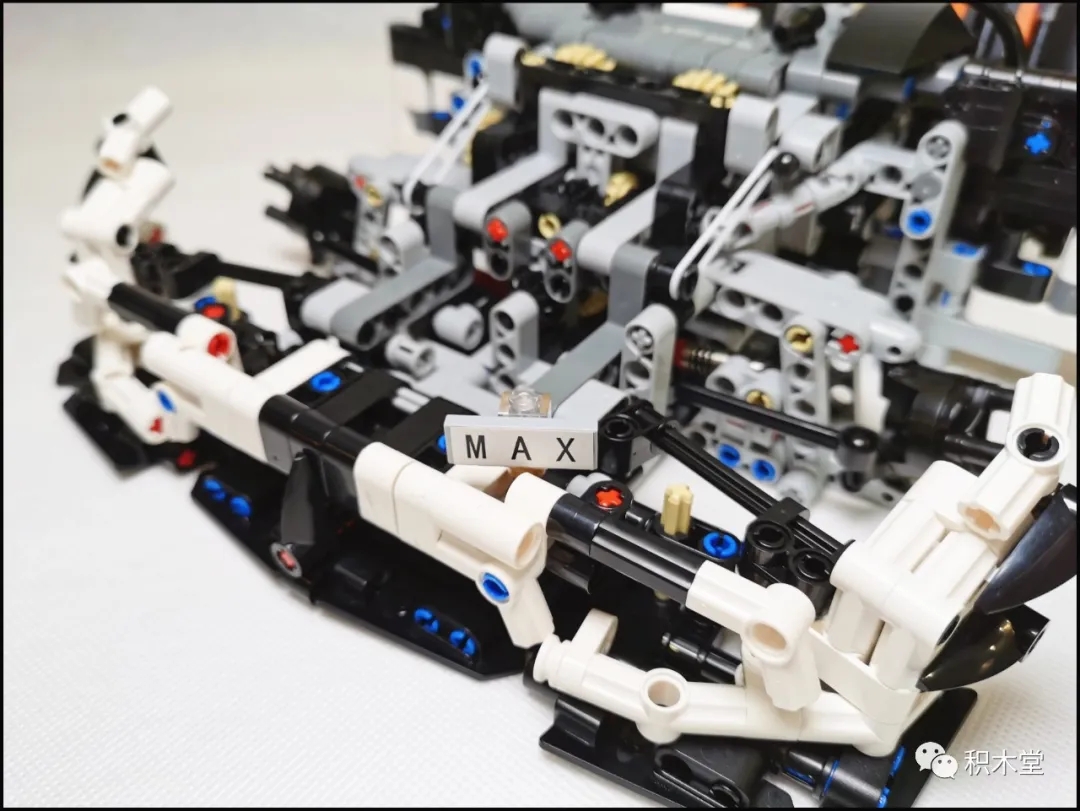
Basically, always remember to test the linkage.
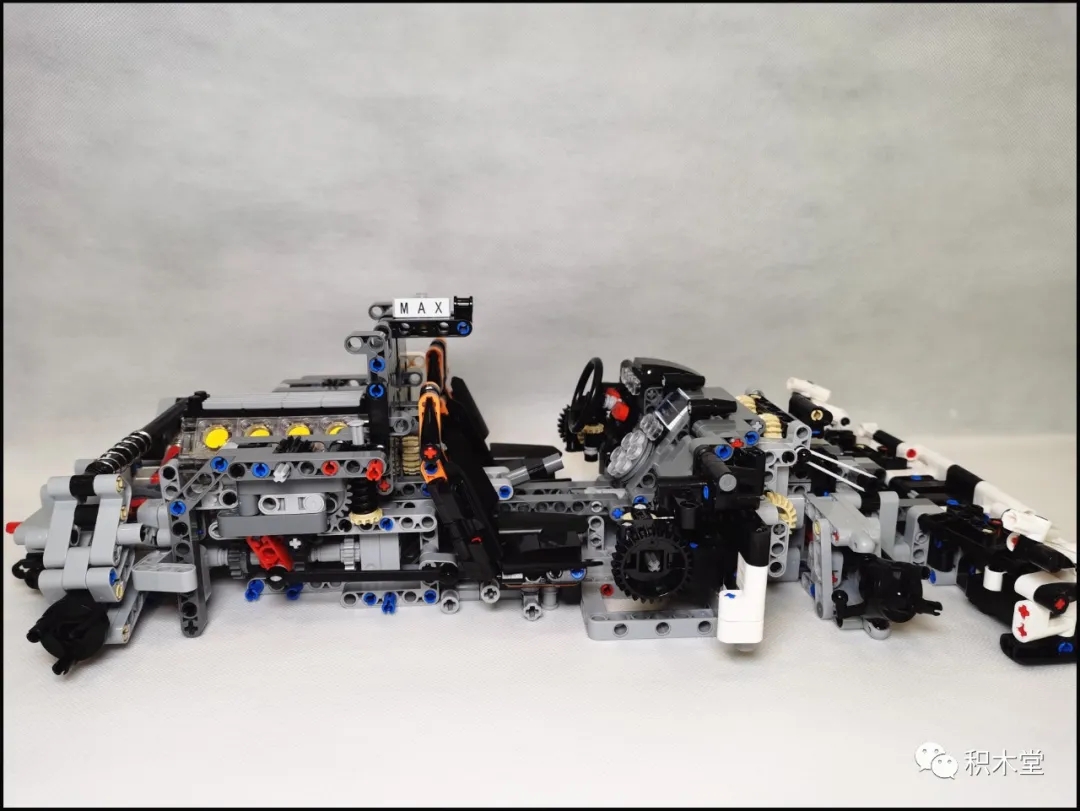
Put on the helmet and start to look good
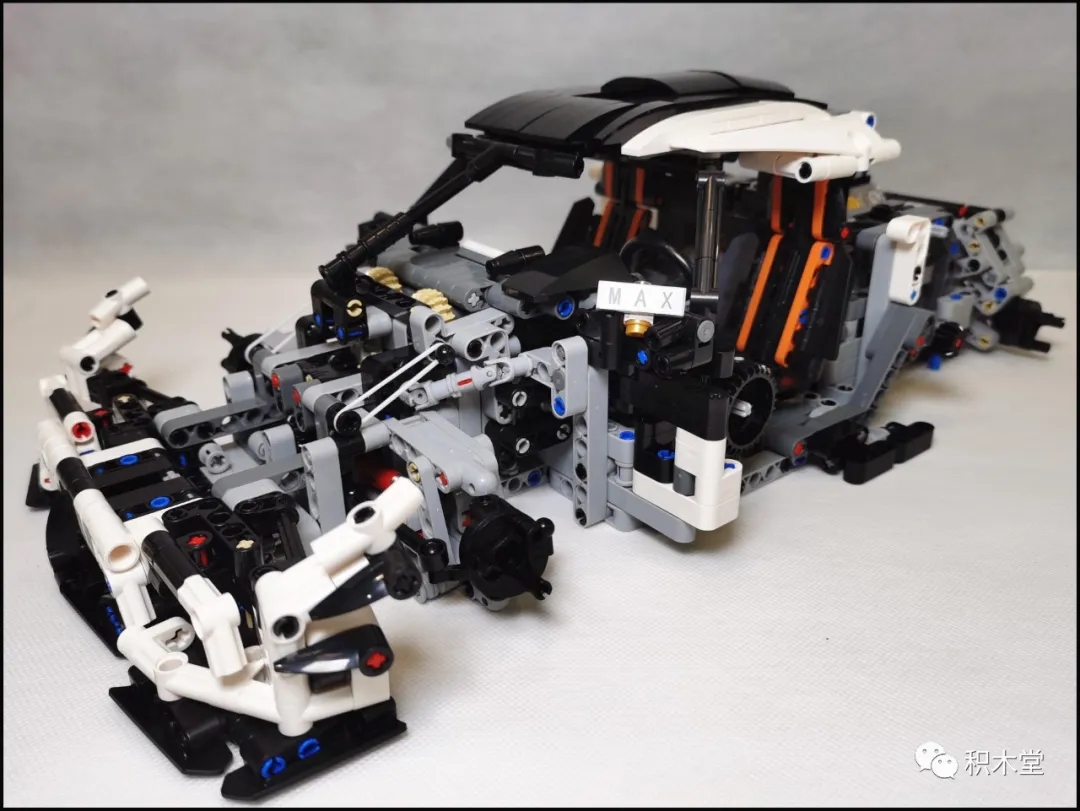
Red letter warning: The middle cross shaft must be adjusted to a positive cross, otherwise, the back door will not be able to be installed.
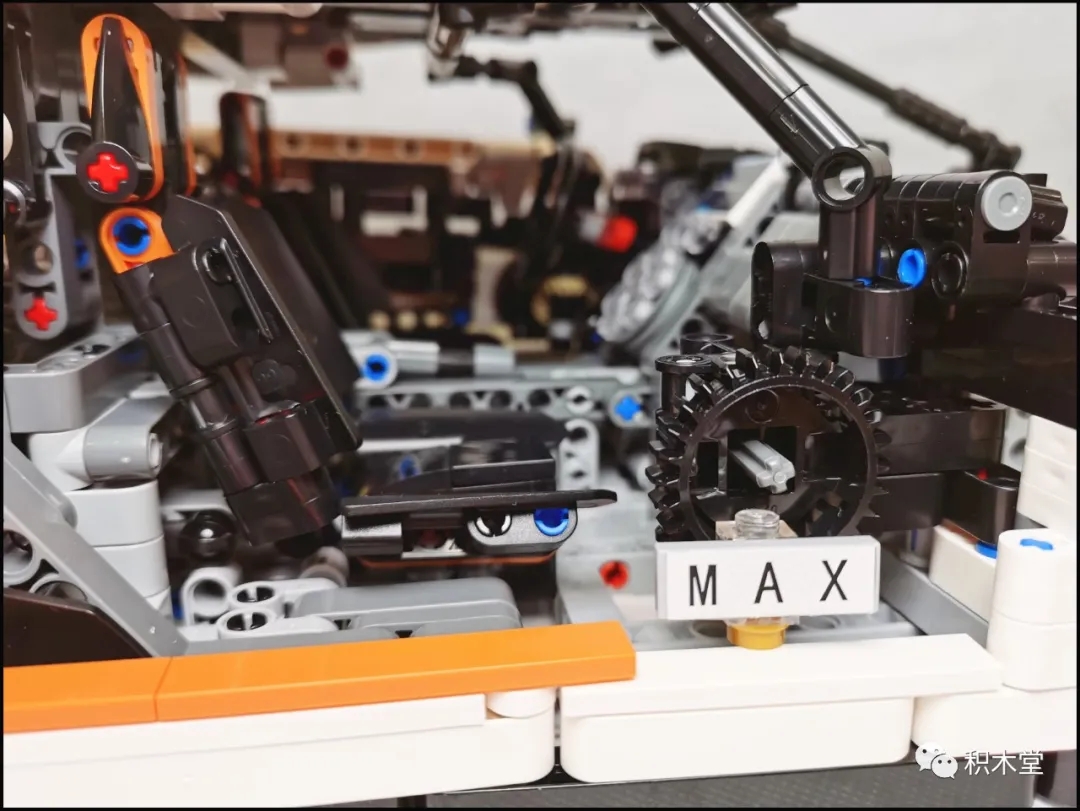
The door is installed correctly, and the innermost state is like this!
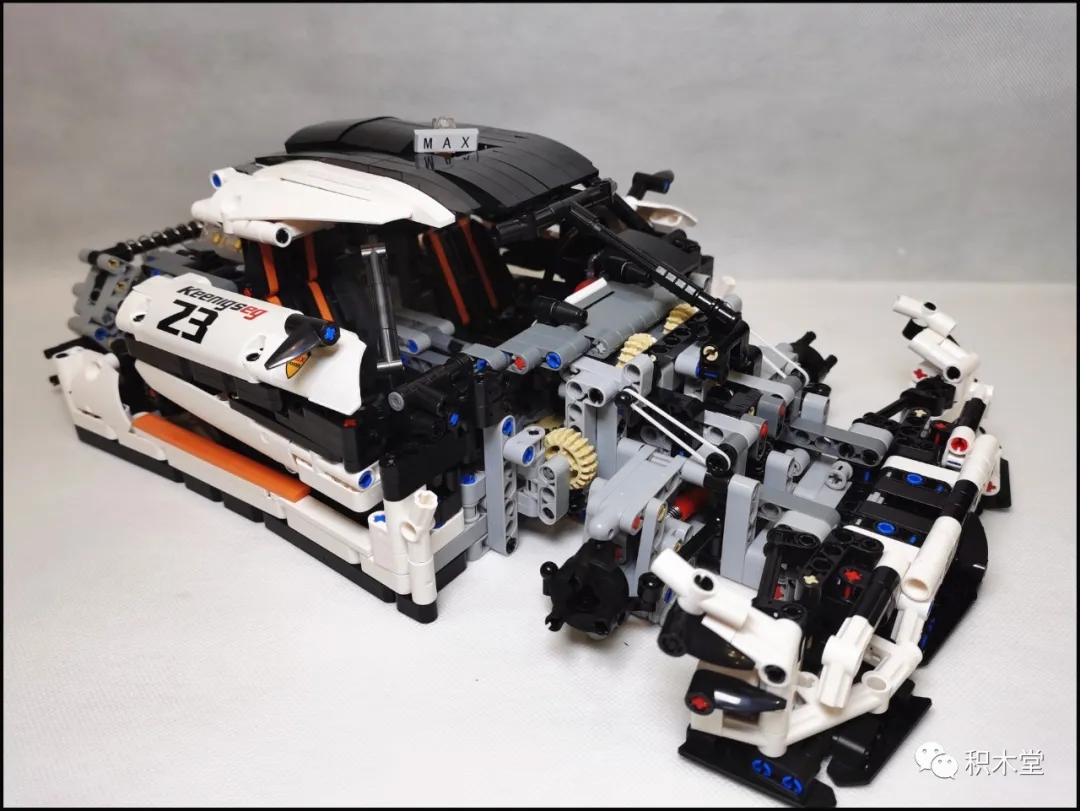
The shape of the rear of the car is really beautiful, really
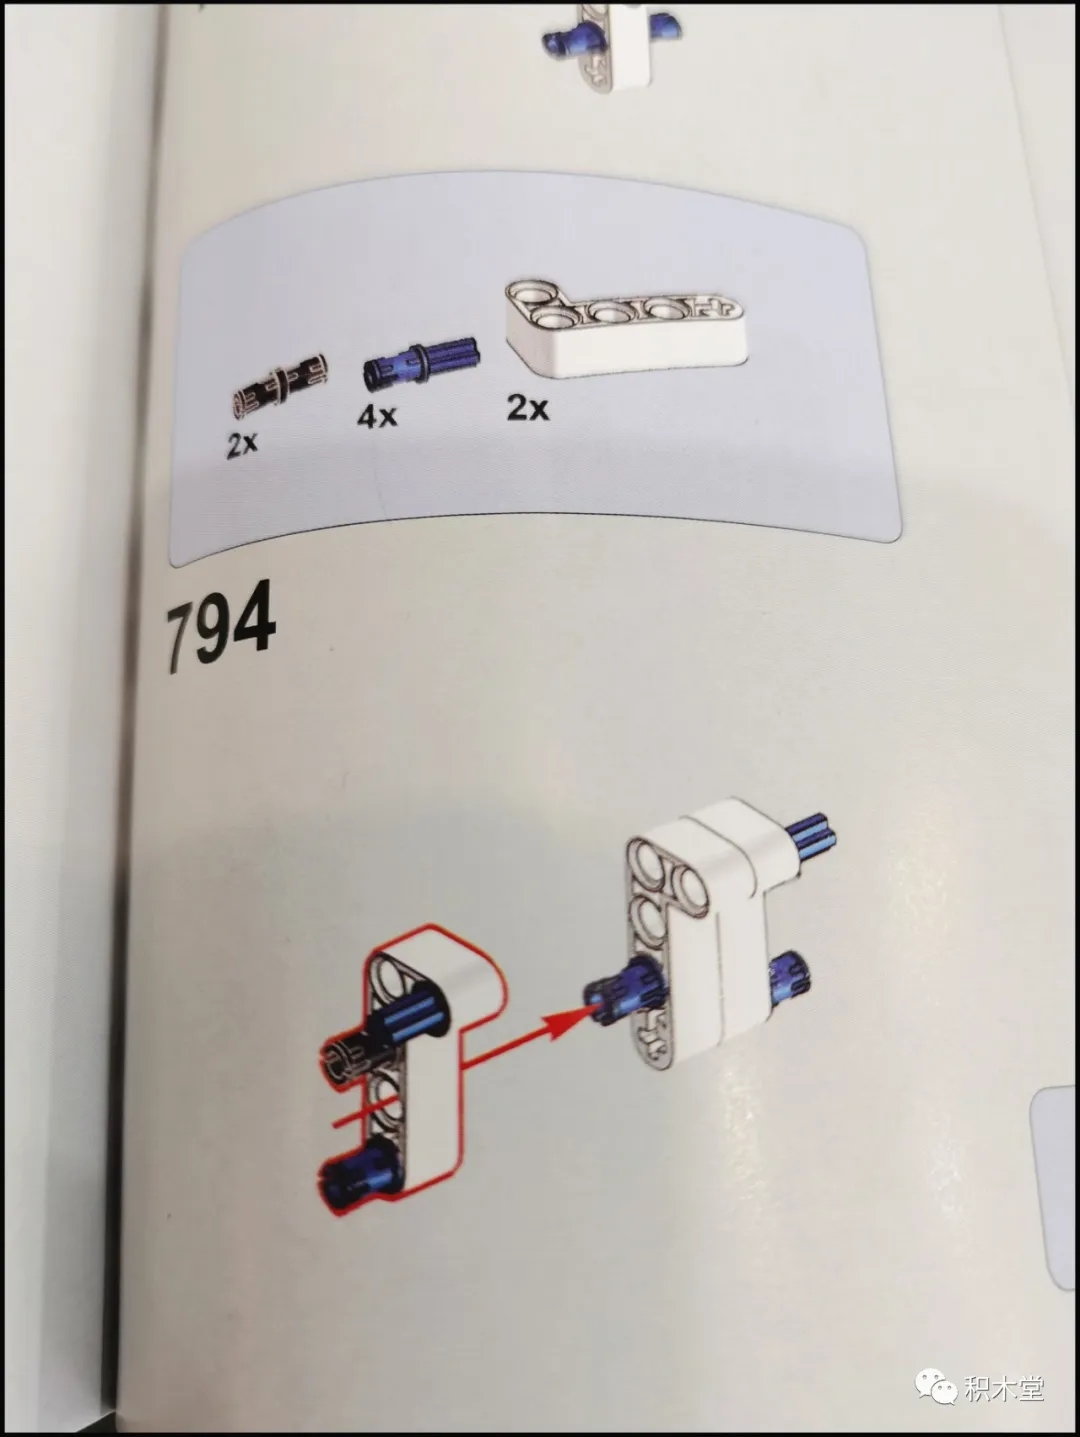
At step 794, a black bolt is missing from the picture here, and the position is directly opposite to this black bolt.
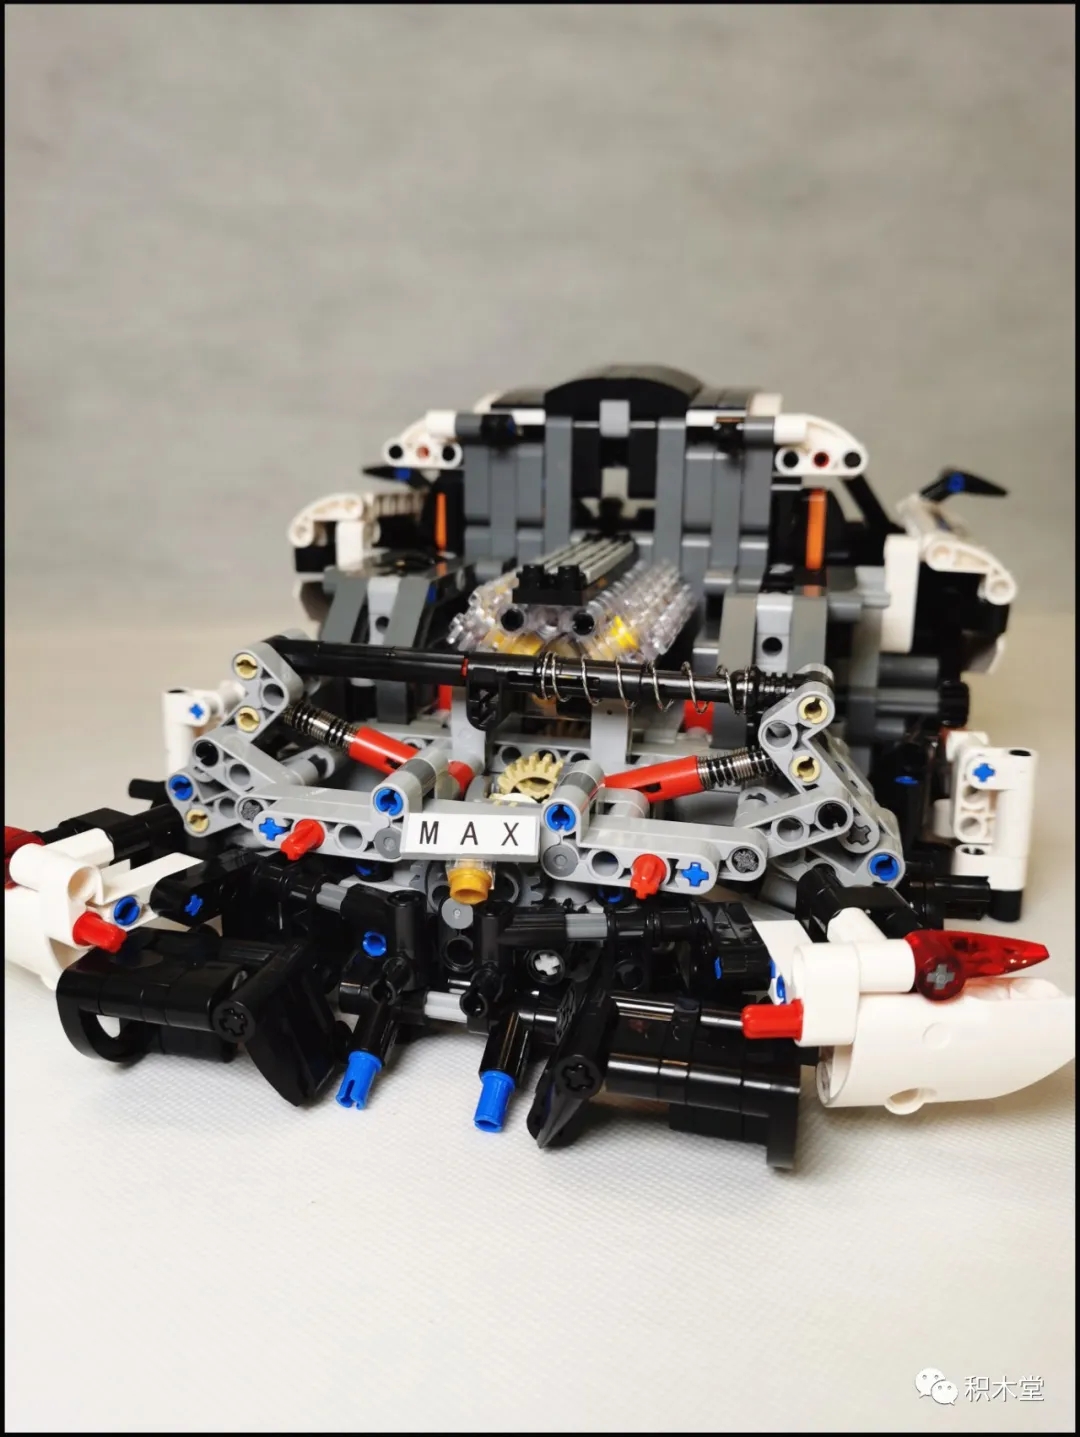
Rear cover
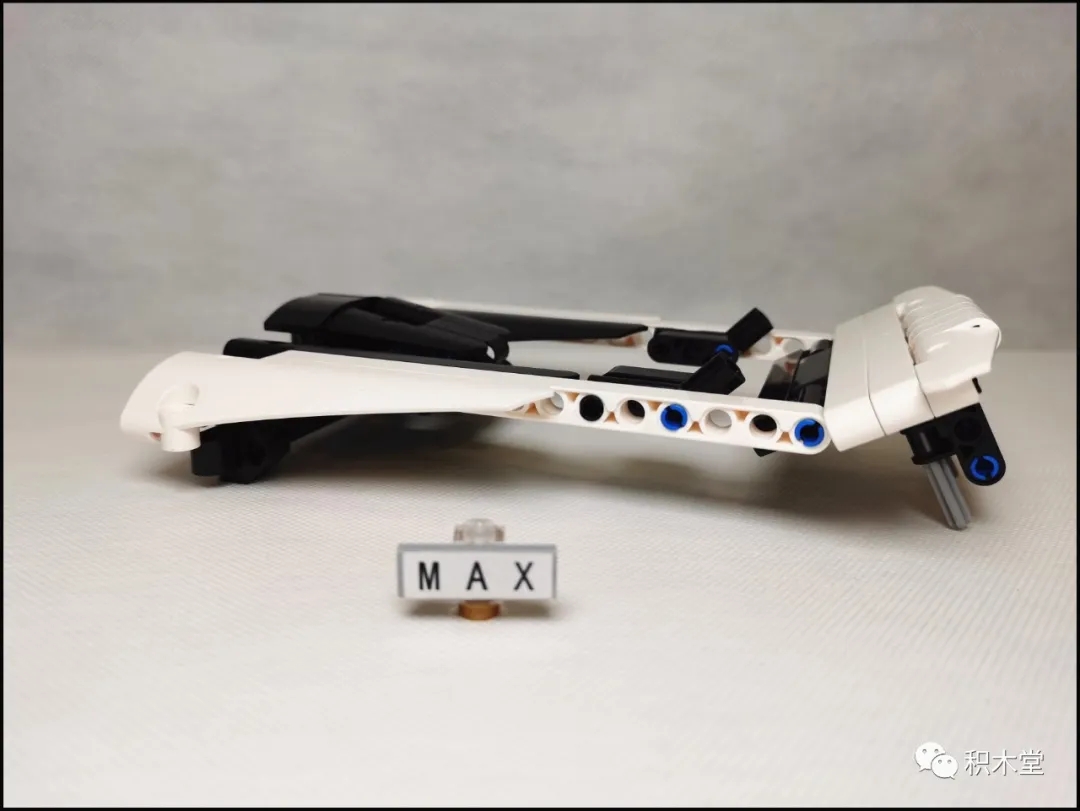
Step 914, under the original, is like this, you need to manually cut off the extra parts.
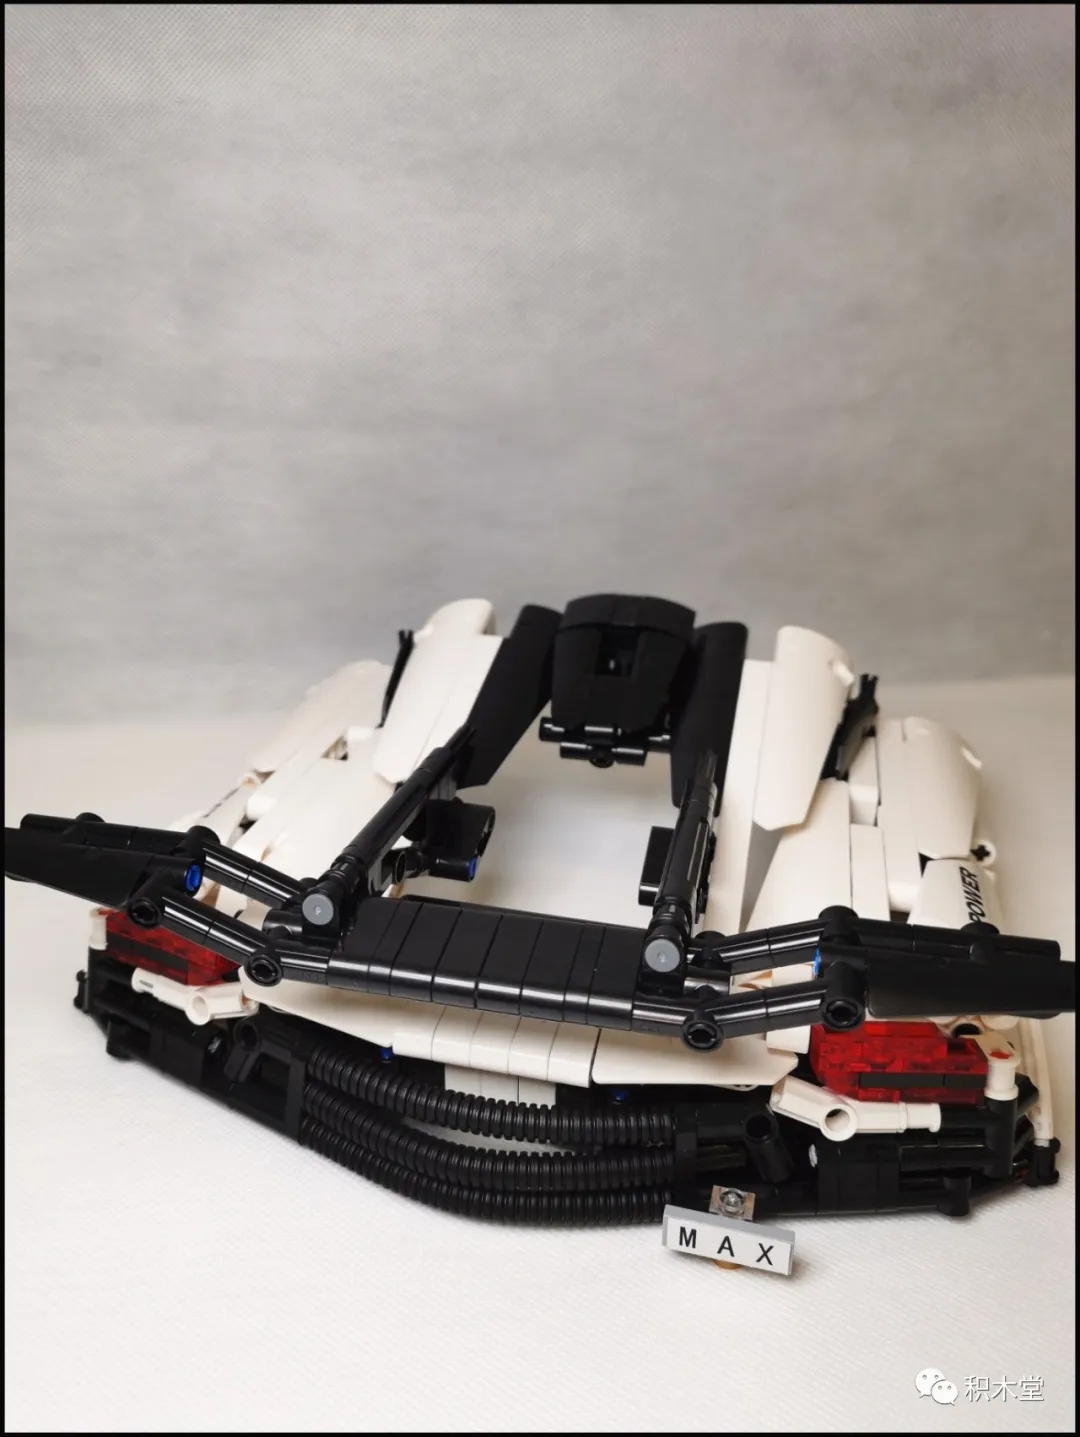
The effect after cutting is better to cut less than more scissors, otherwise it will be ugly if it is not long enough
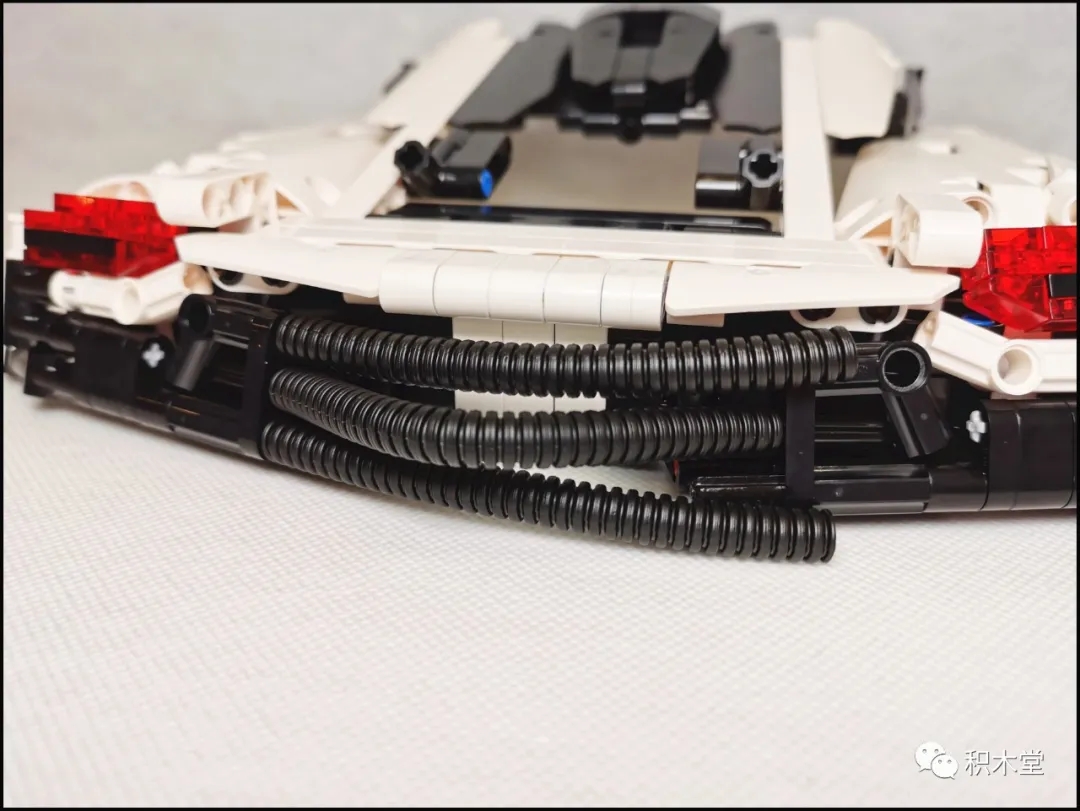
It was said that it was difficult to do it back then. Many of the reasons were that these hoses were not accurate enough to be inserted, but based on the advantages of [High Brick] parts, it was easy to shape them.
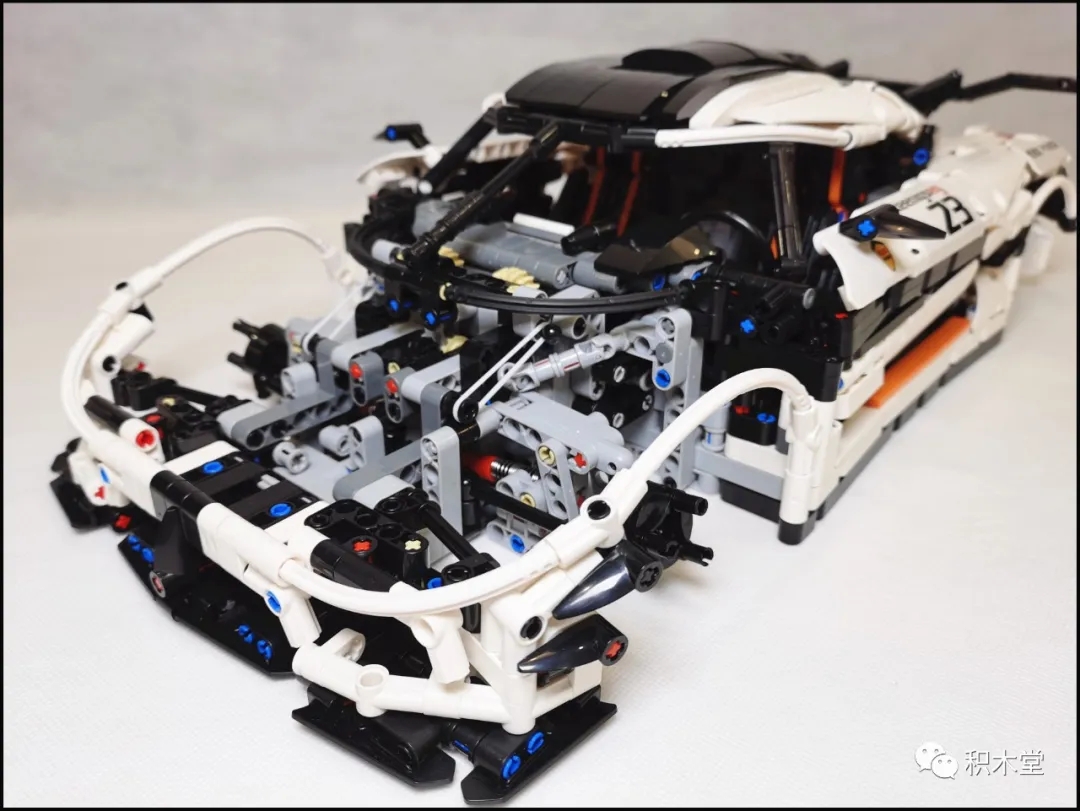
Front cover and sports car wheels
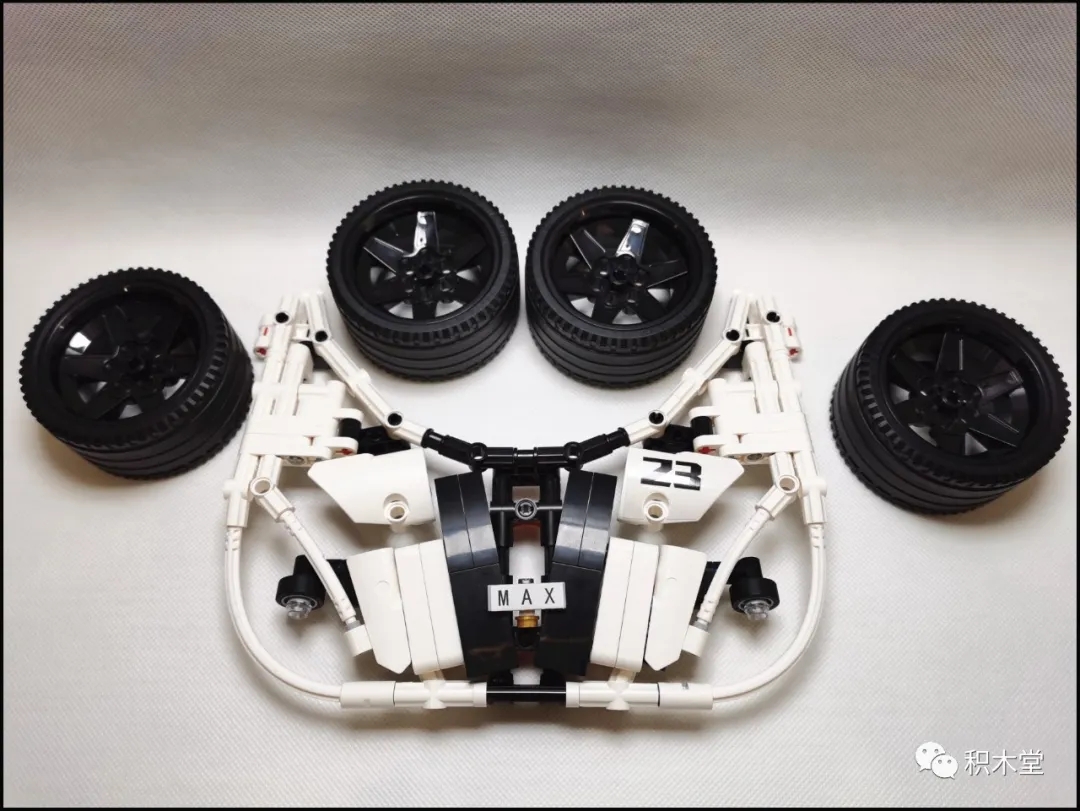
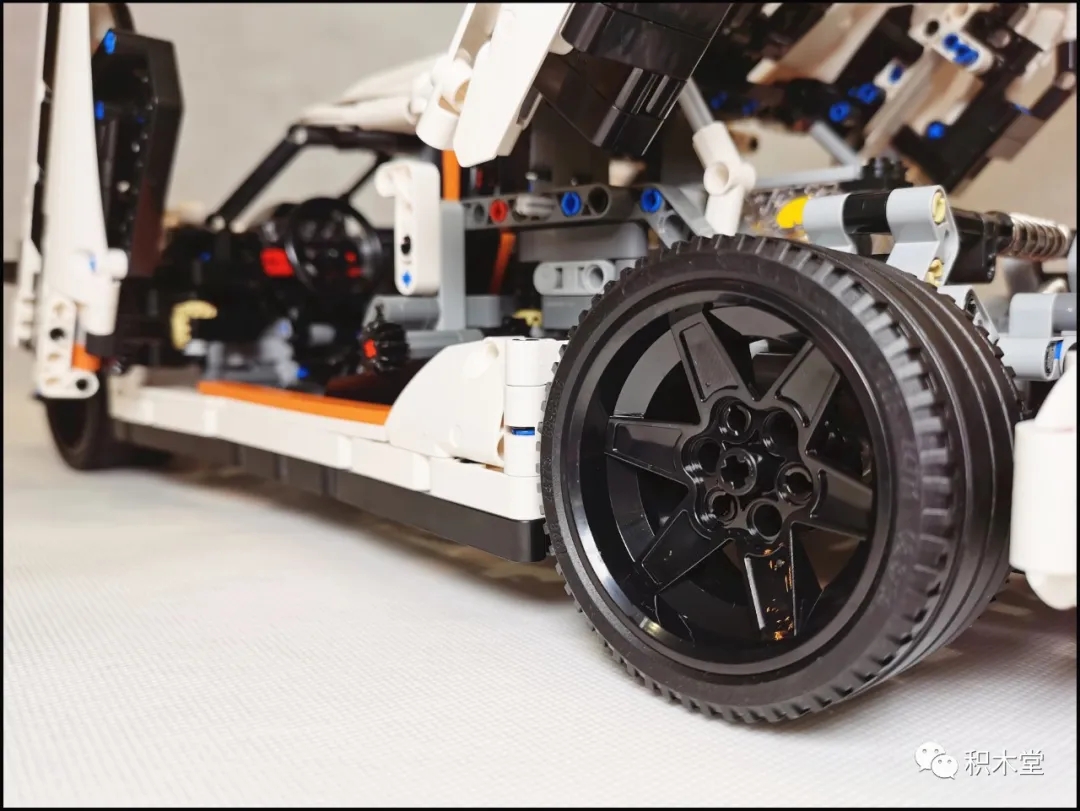
Important note: Step 375, the front axle must be inserted into the long axis, otherwise, the wheels will stand outside the figure of eight!
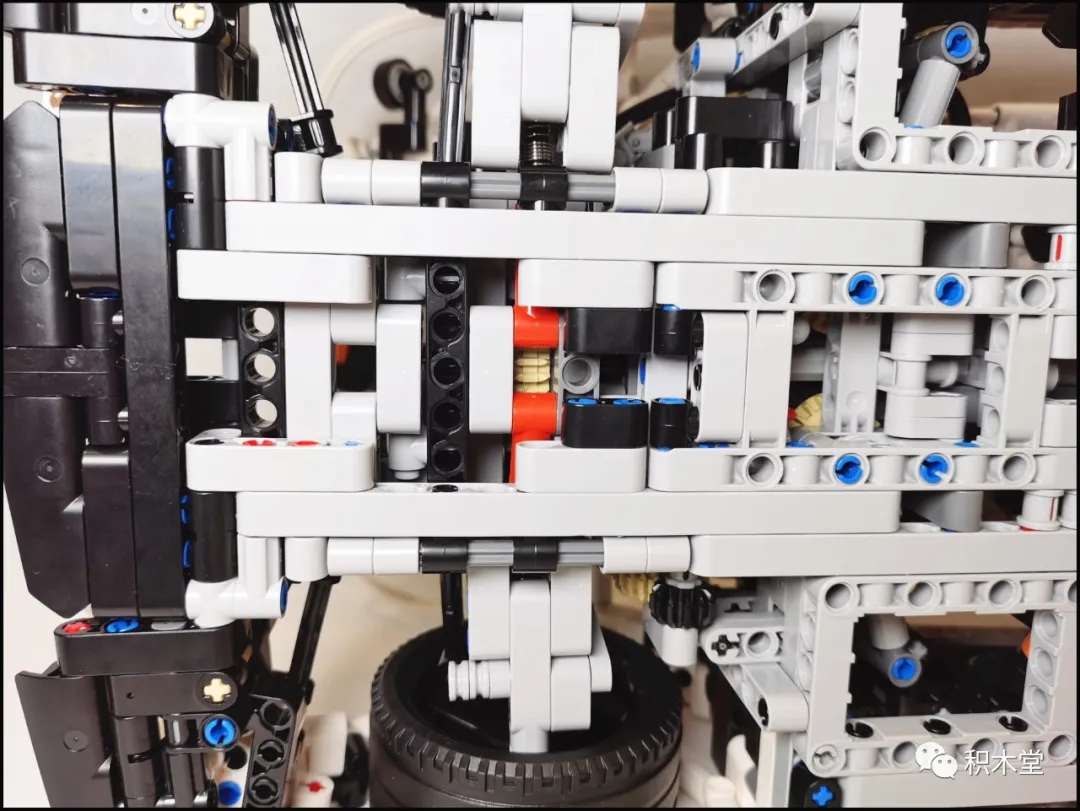
It’s nice to use clean parts. If you go to Gaozhuan Mall to buy it, it costs ten yuan. Thank you for so many spare parts.
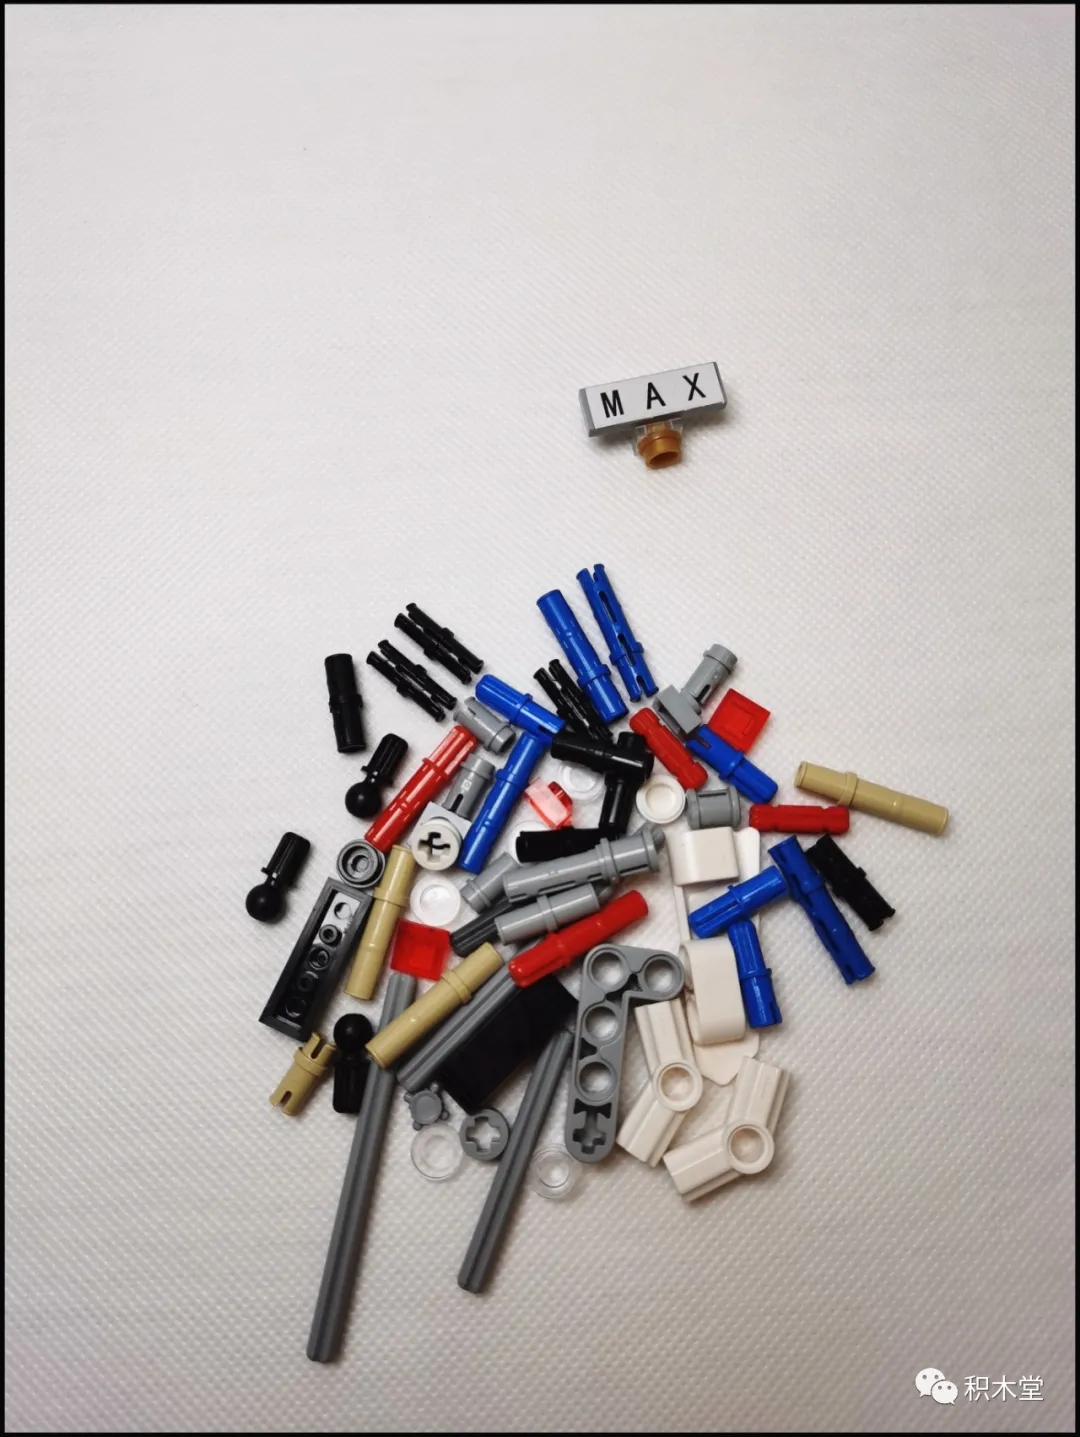
finished
False assessment
360-degree display of finished products
Finished product size: 47*22.5*13.5, unit: cm
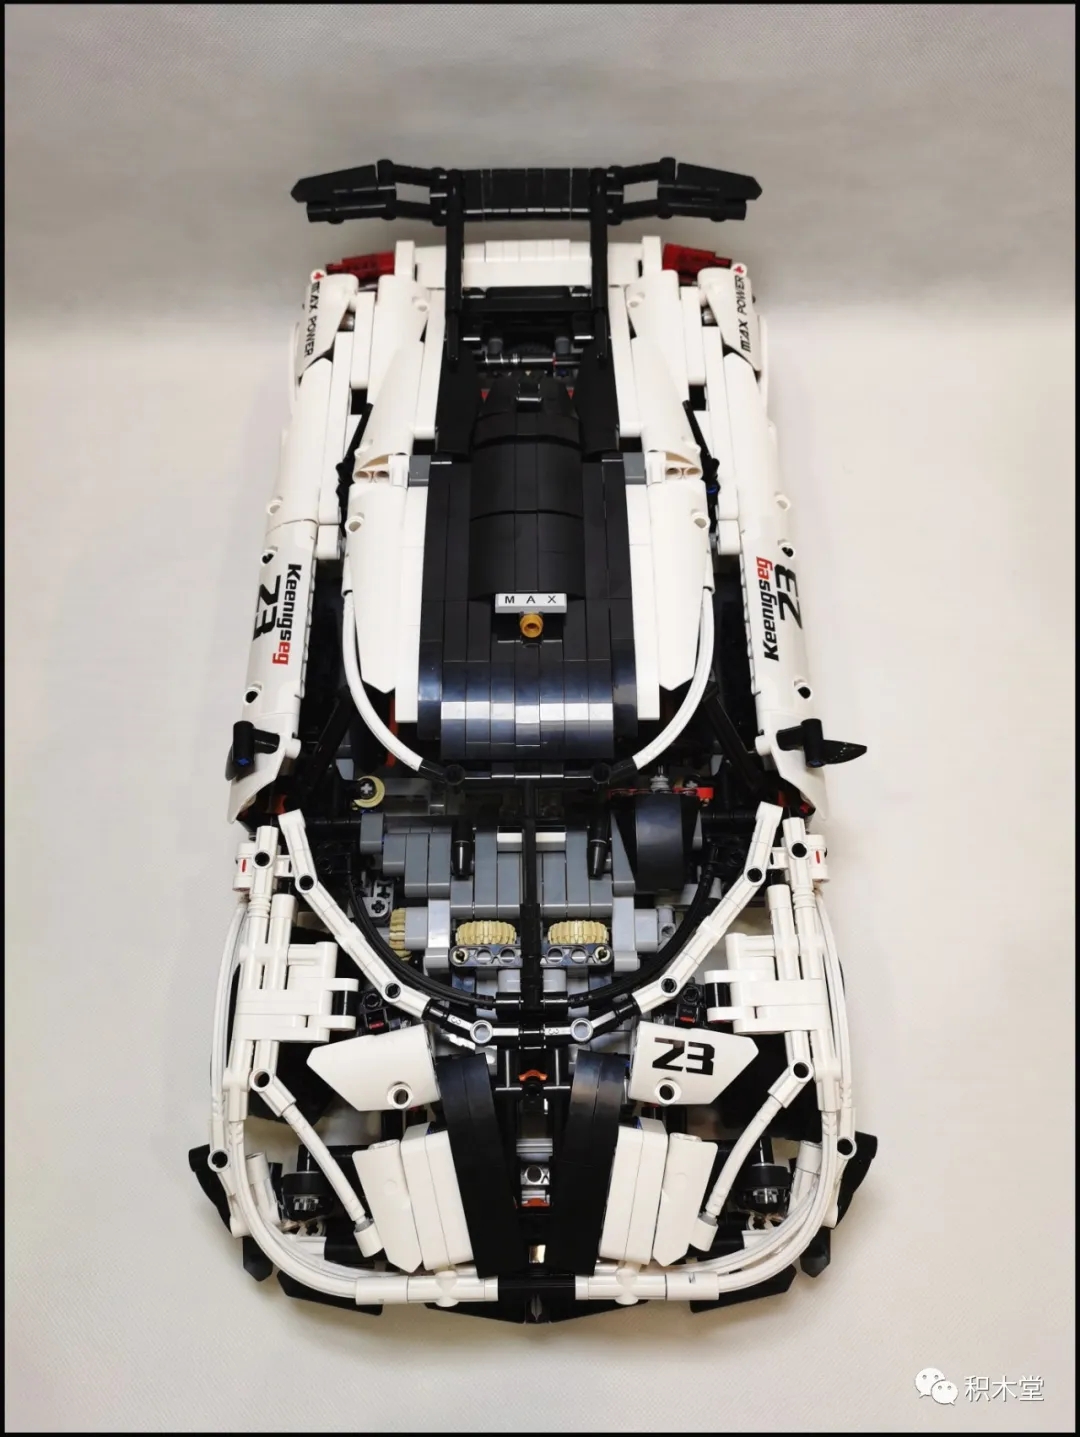
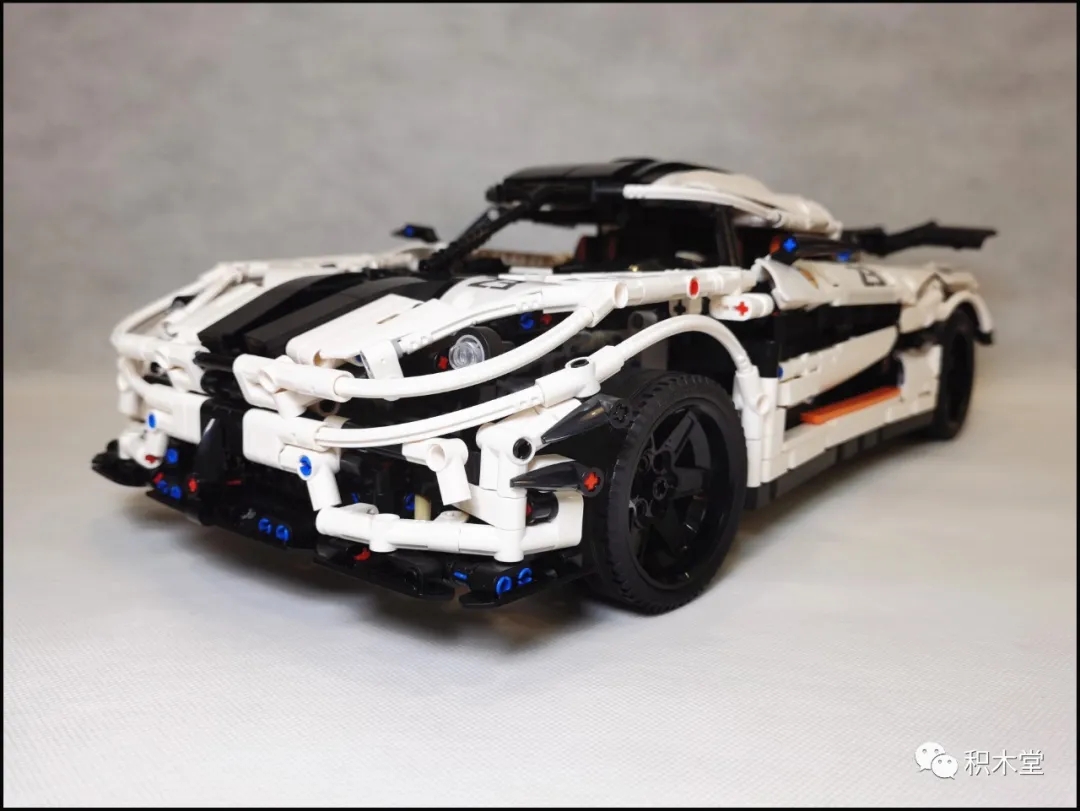
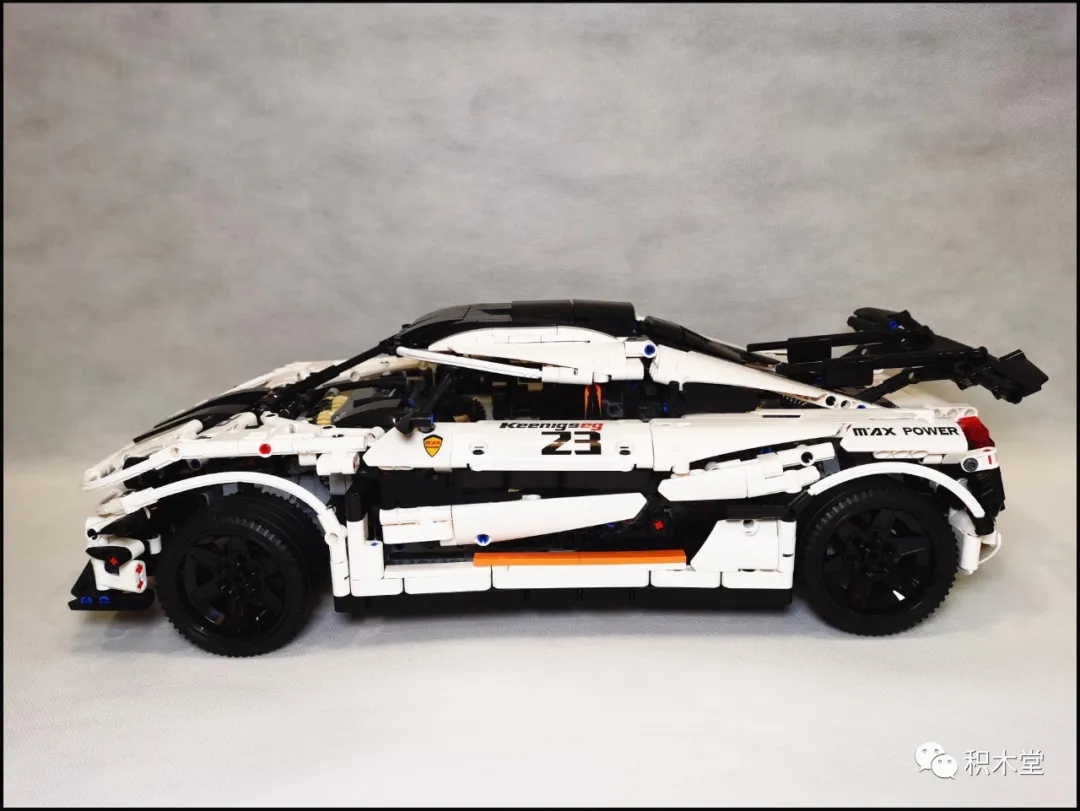
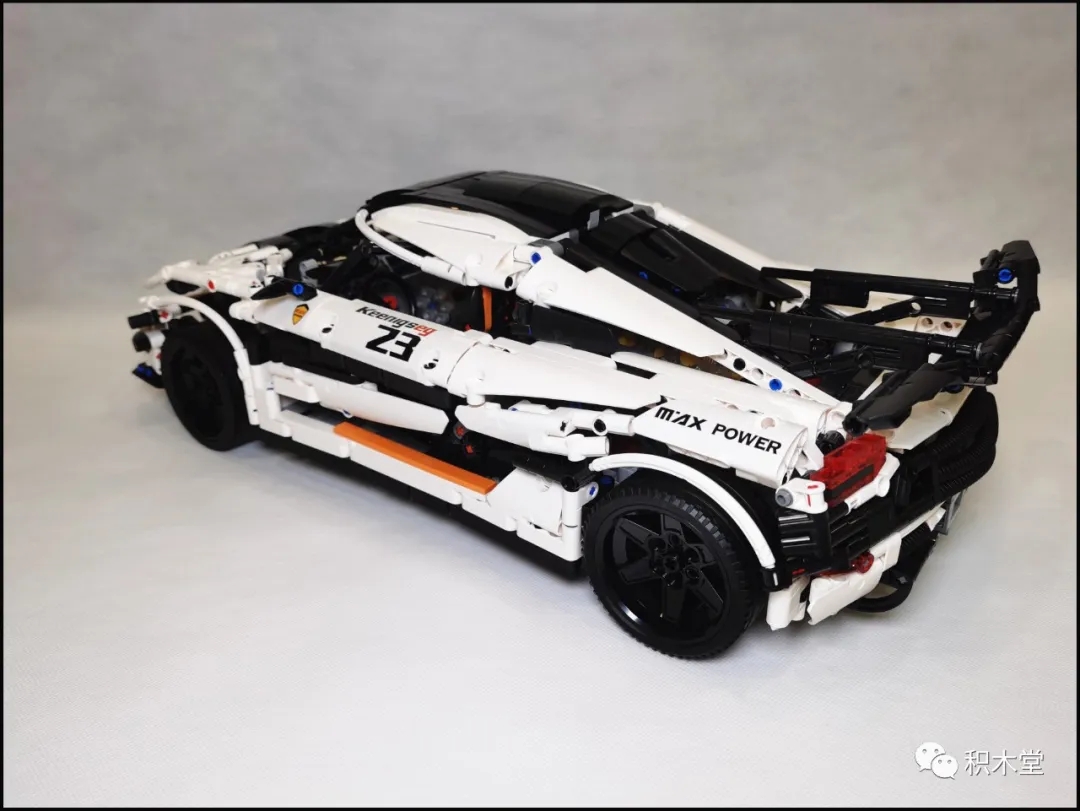
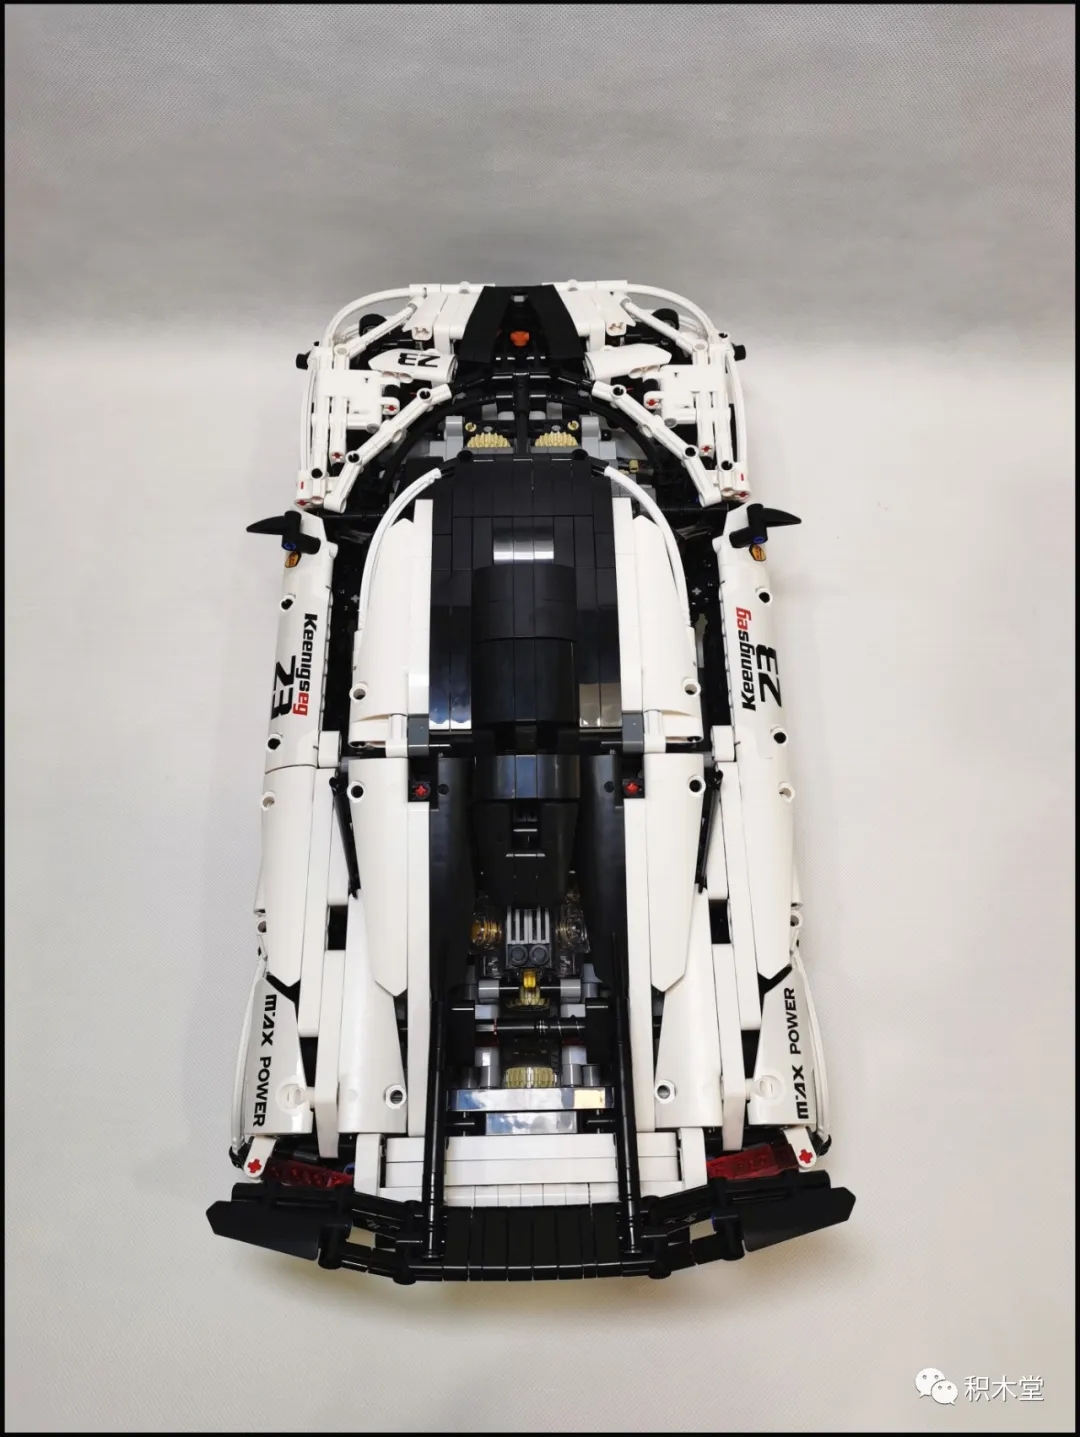
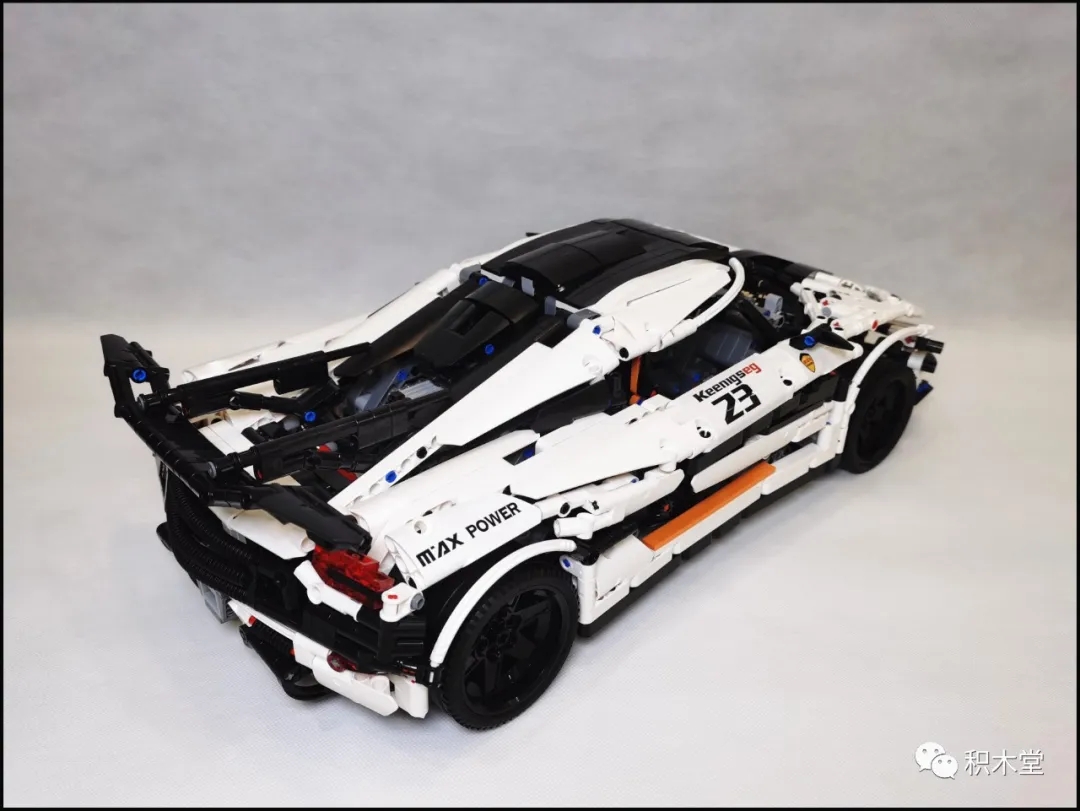
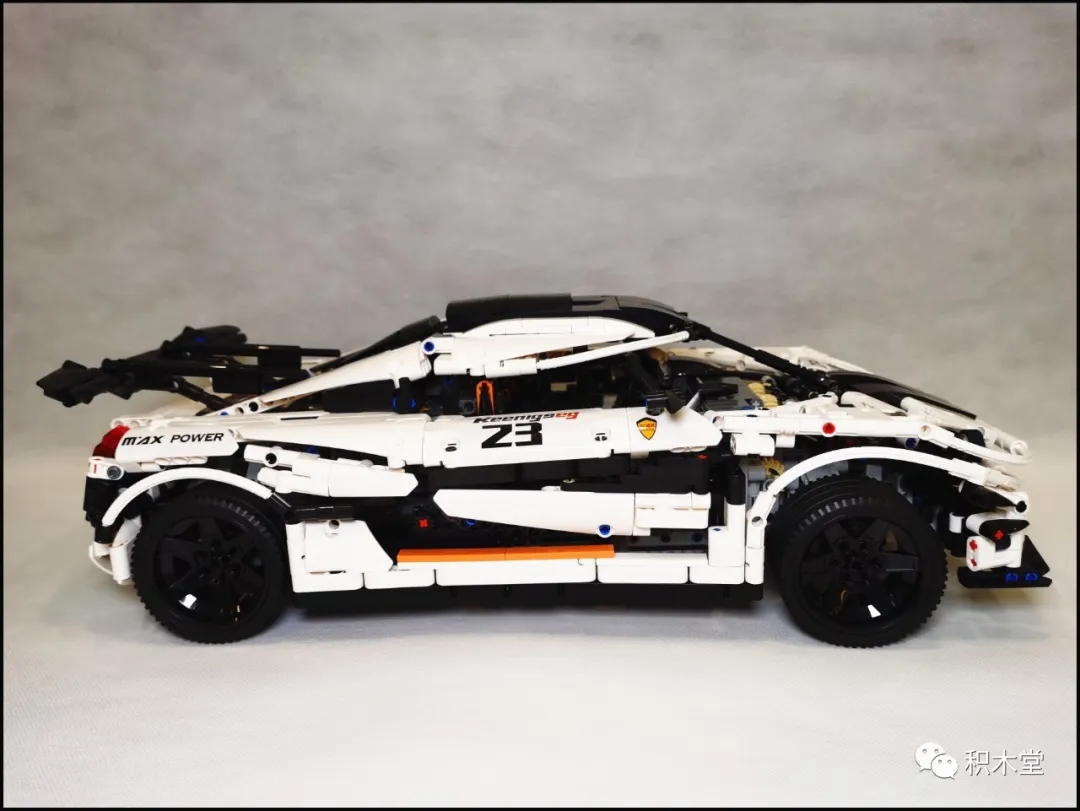
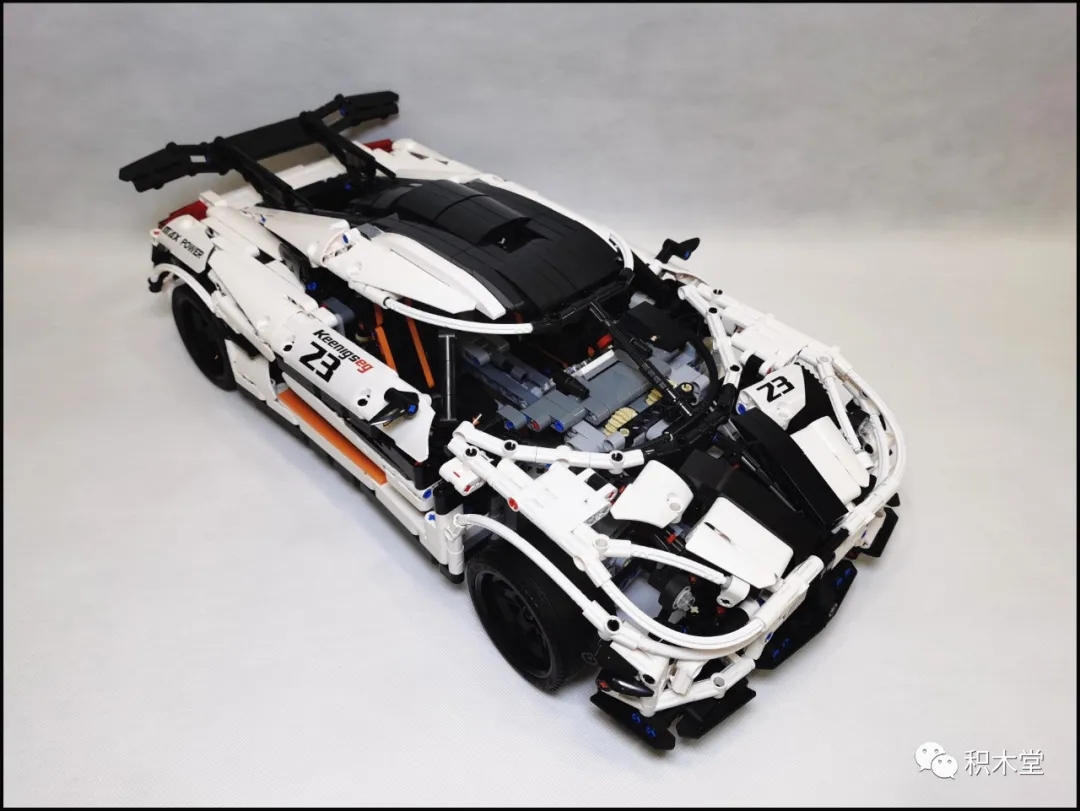
detail
The front cover is open, it’s a suitcase with very little space
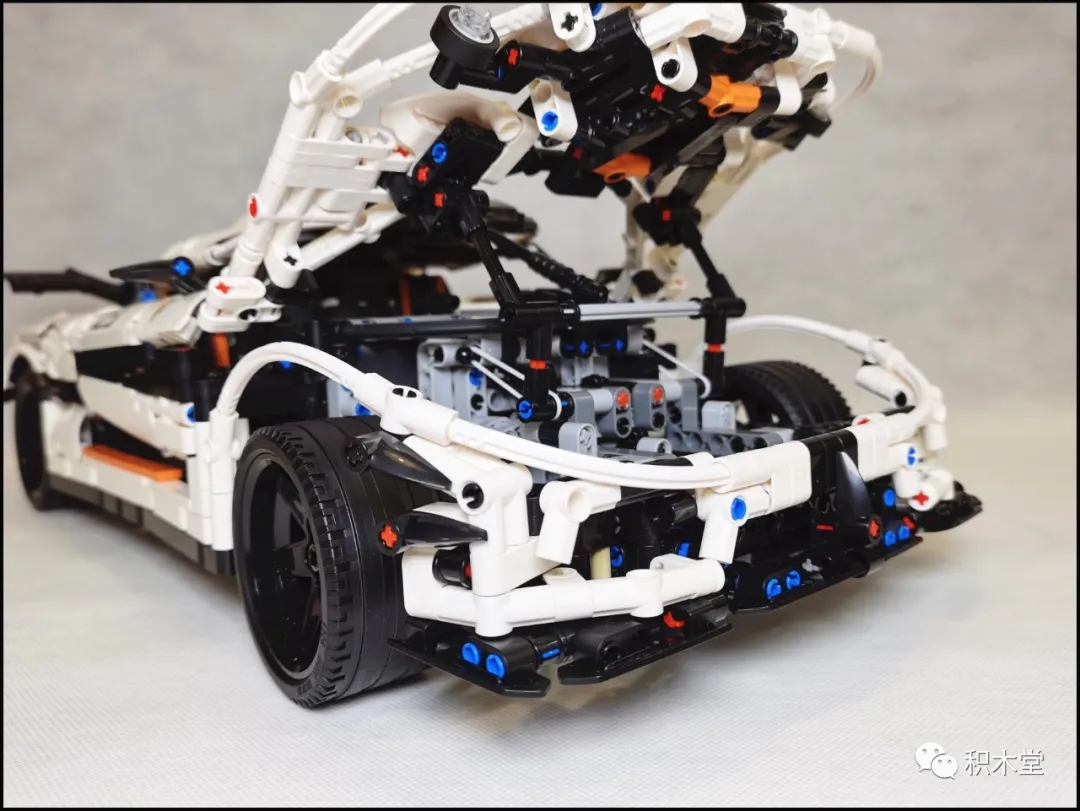
The front of the car is very handsome
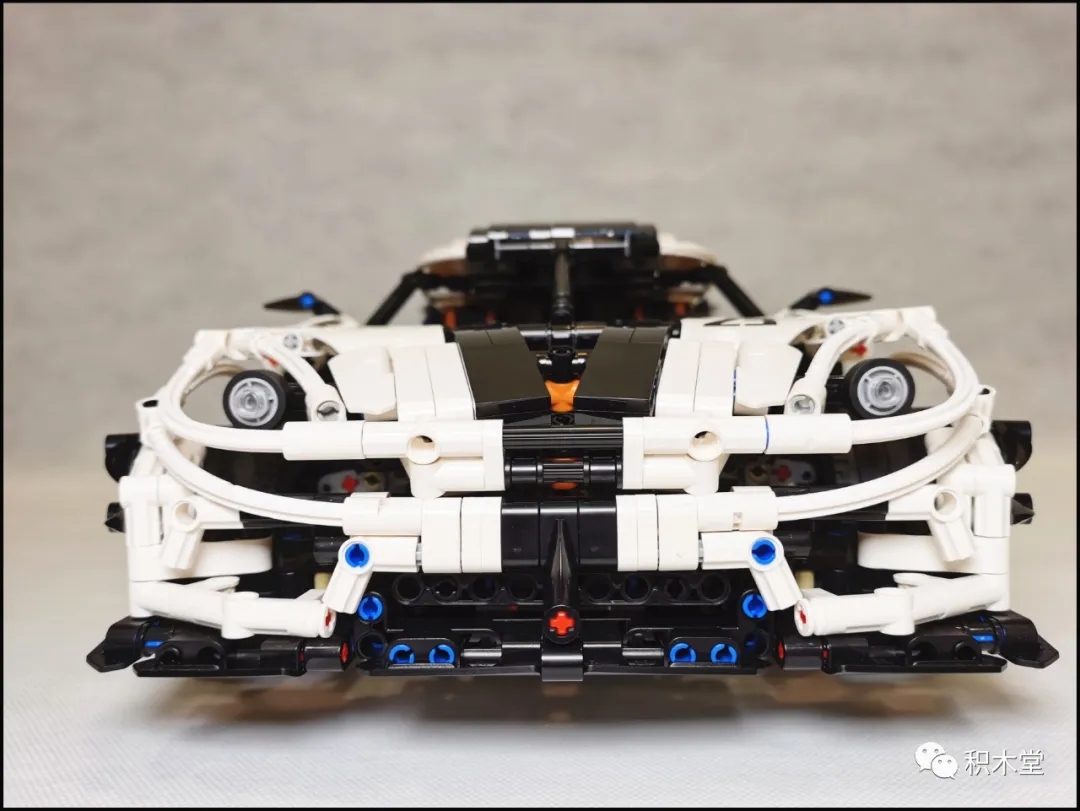
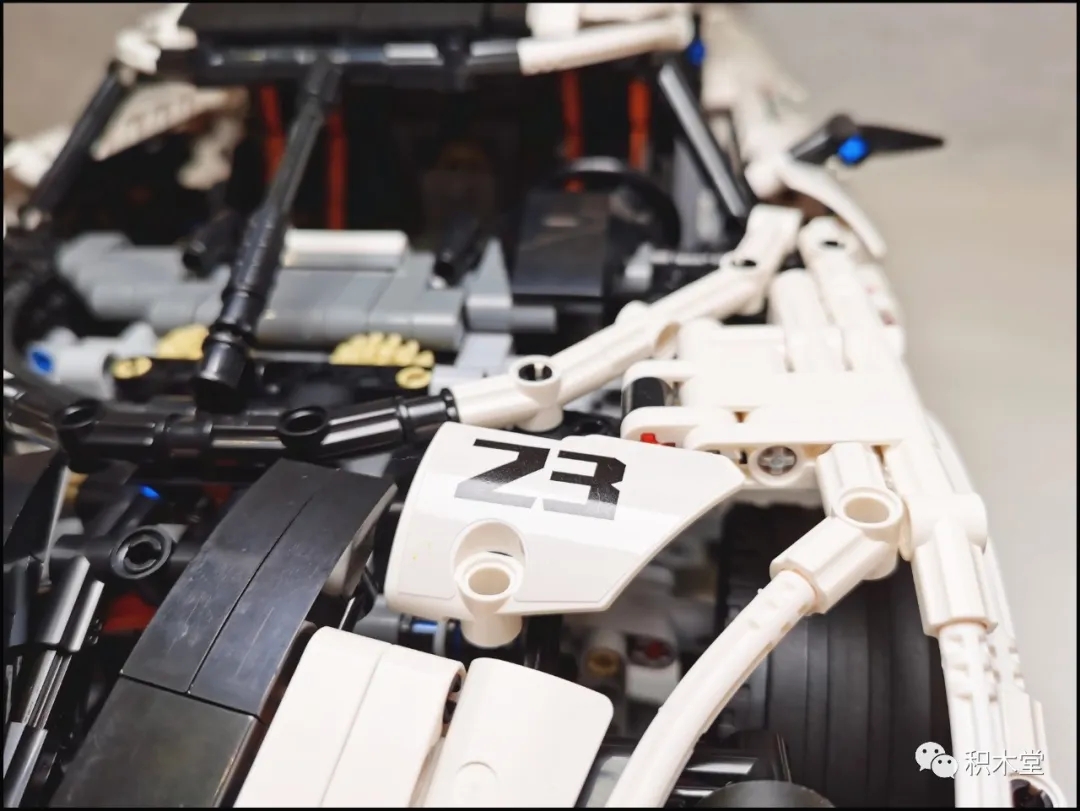
23rd anniversary, very young supercar
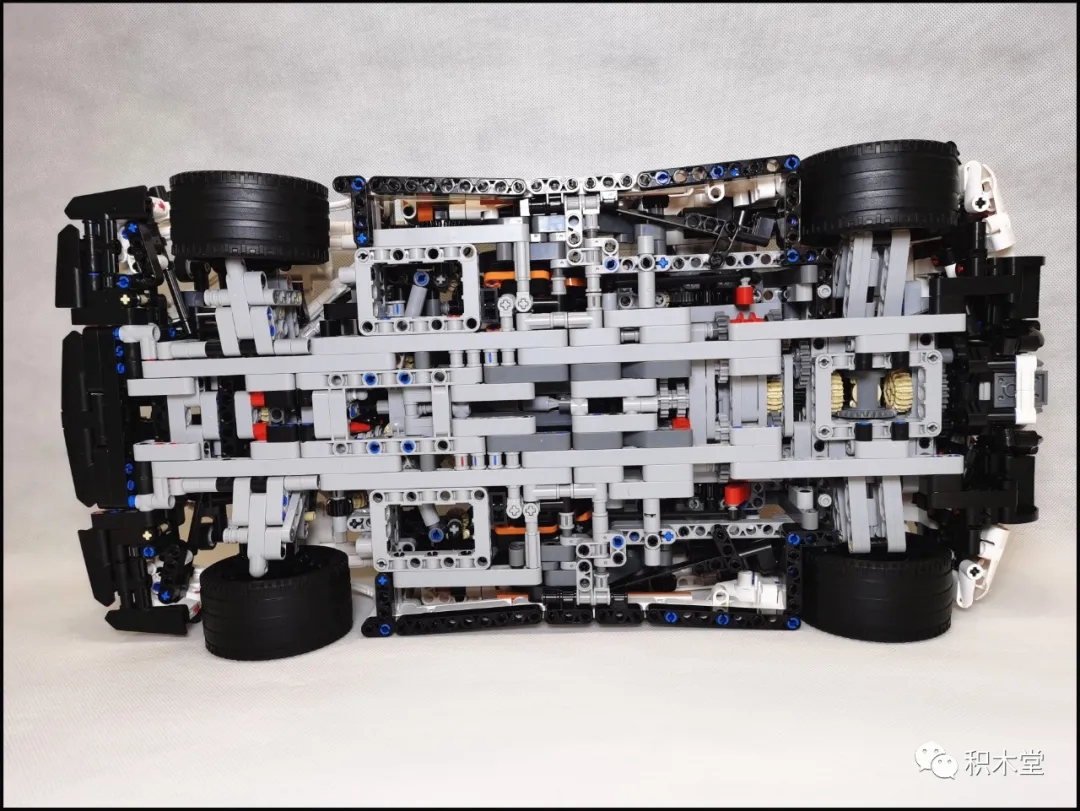
Chassis drawing
Very handsome very handsome
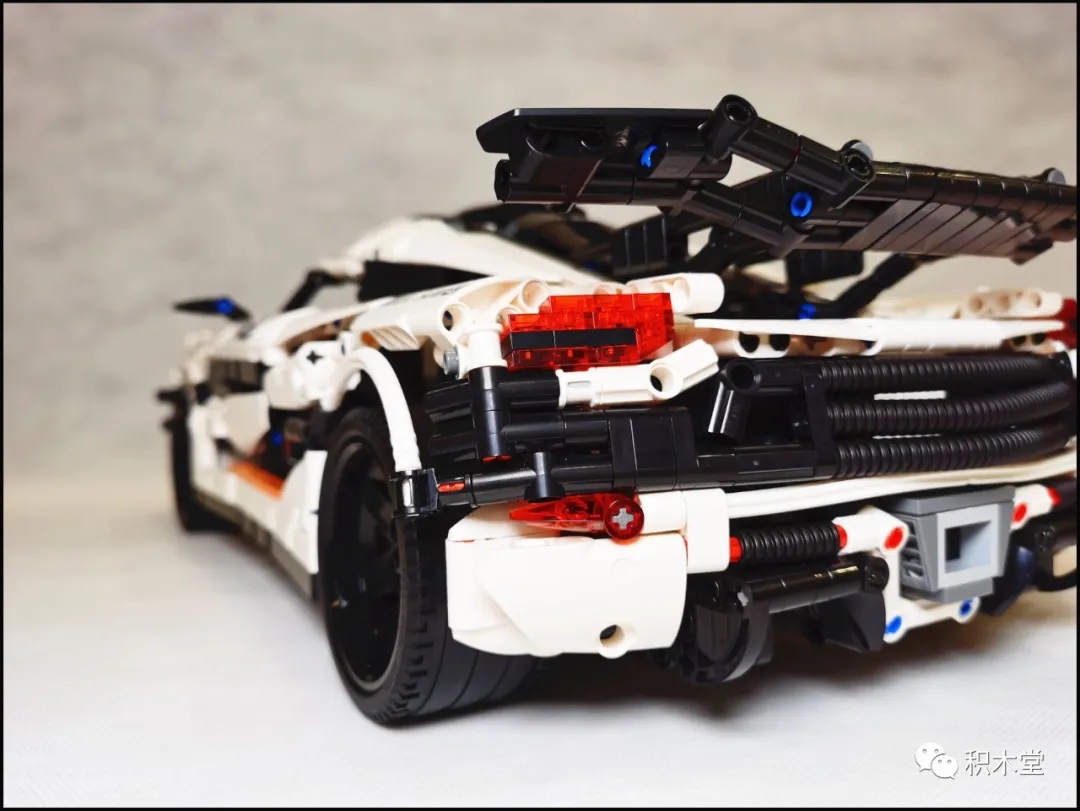
This exhaust is so handsome that it explodes!
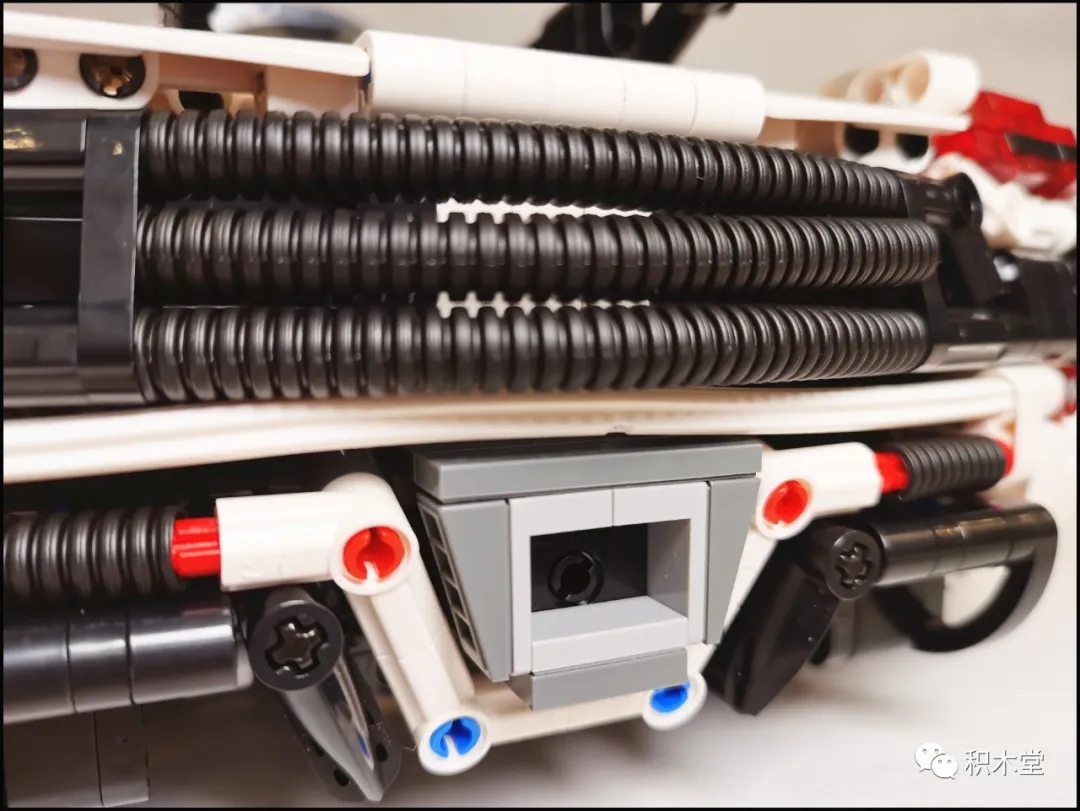
The lights are installed in reverse
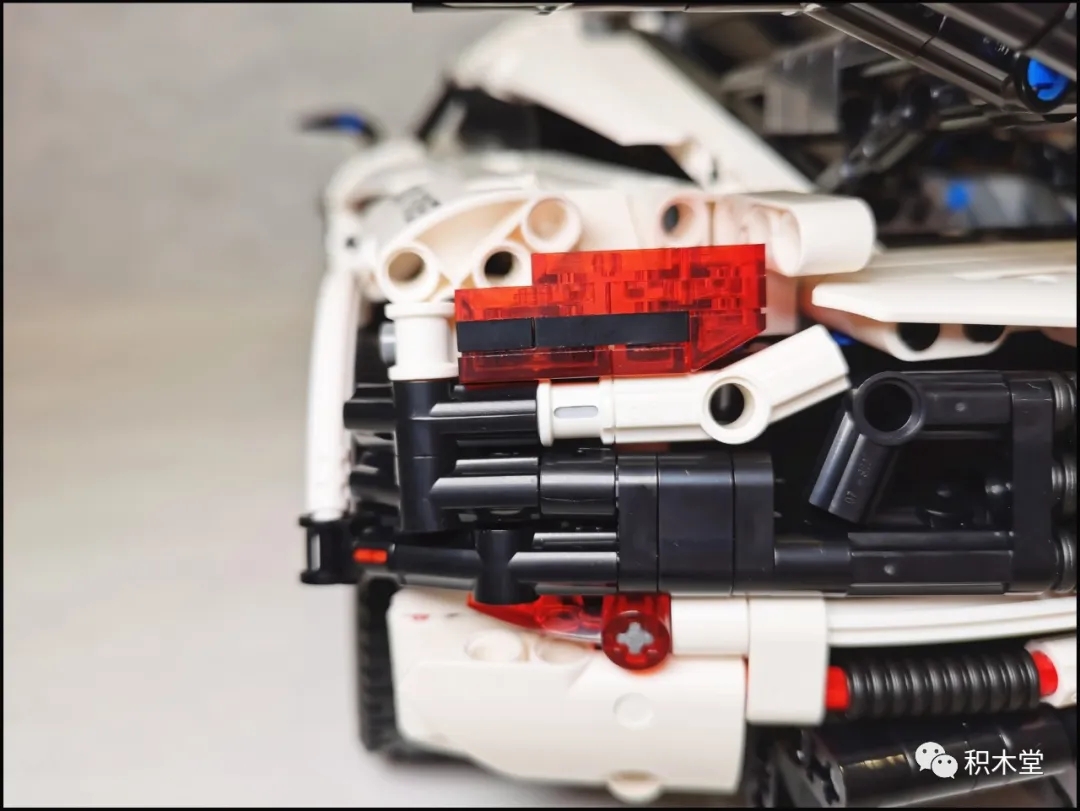
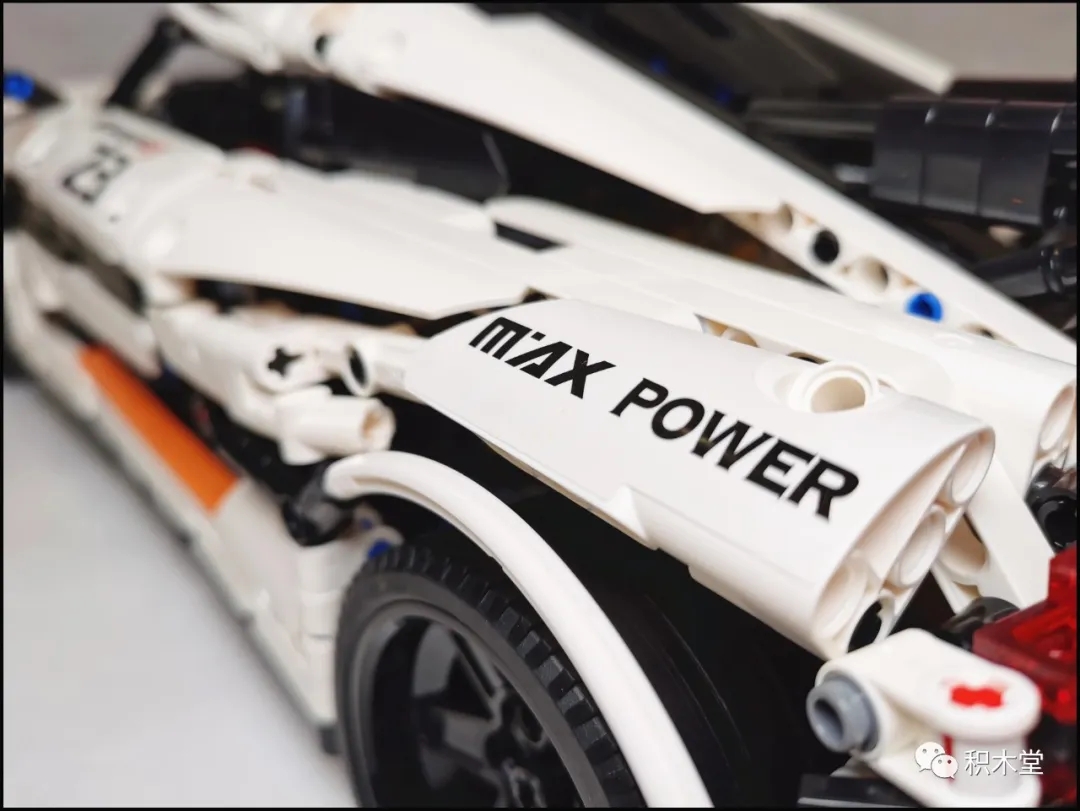
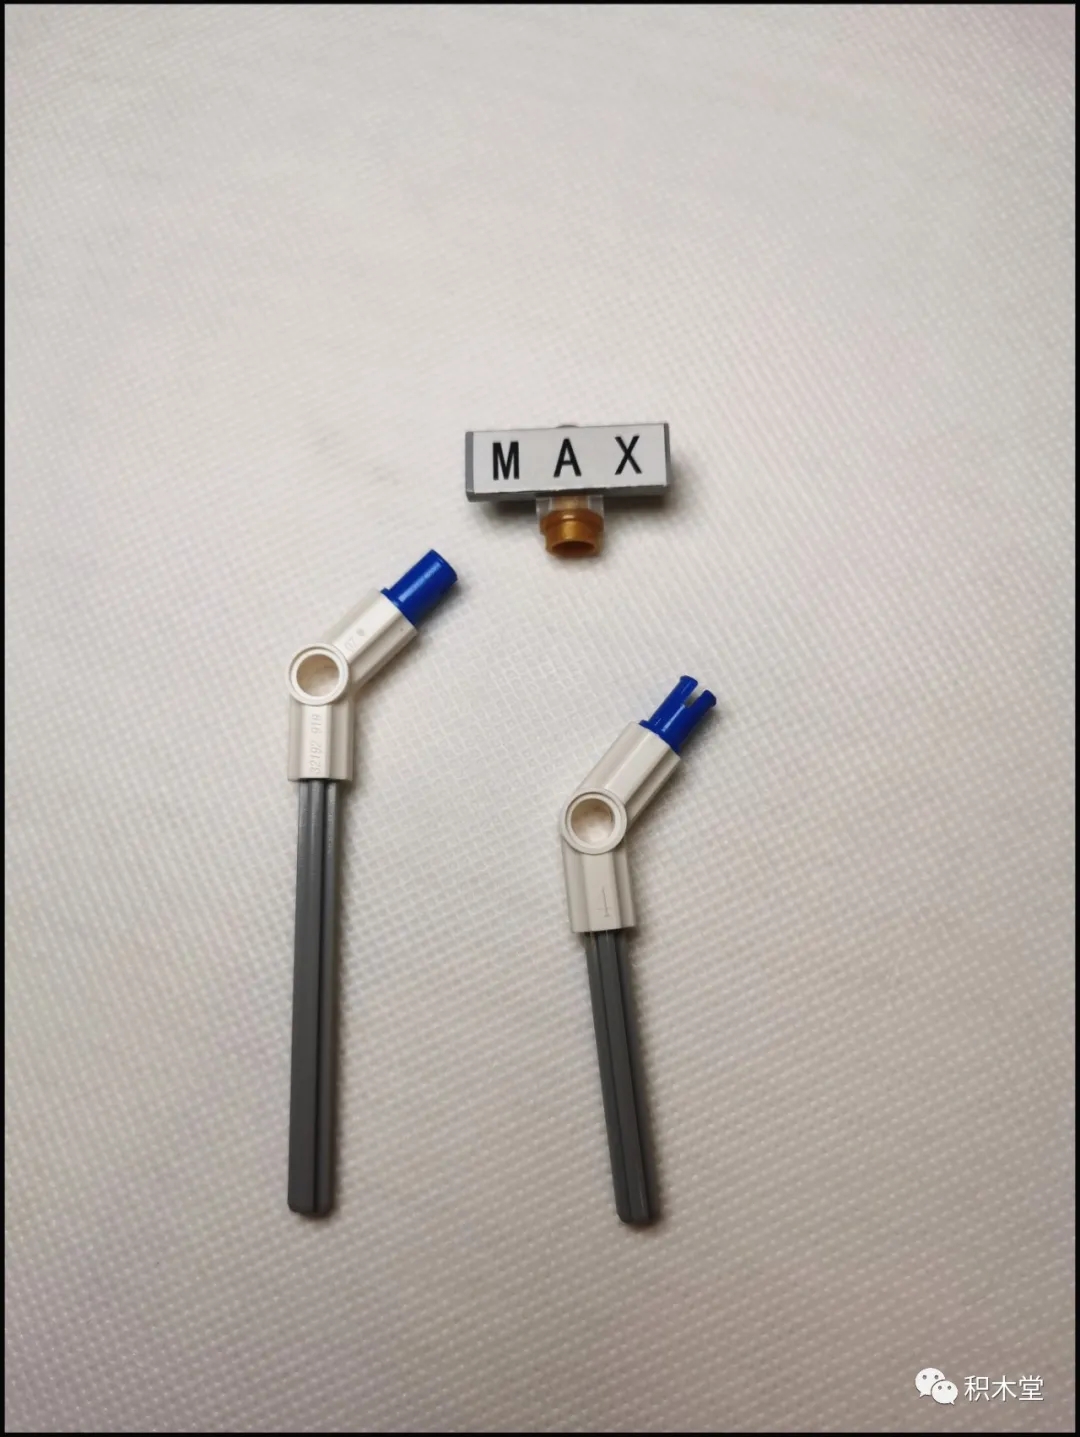
The rear cover cannot be fixed, so the editor uses extra parts to make a bracket and top
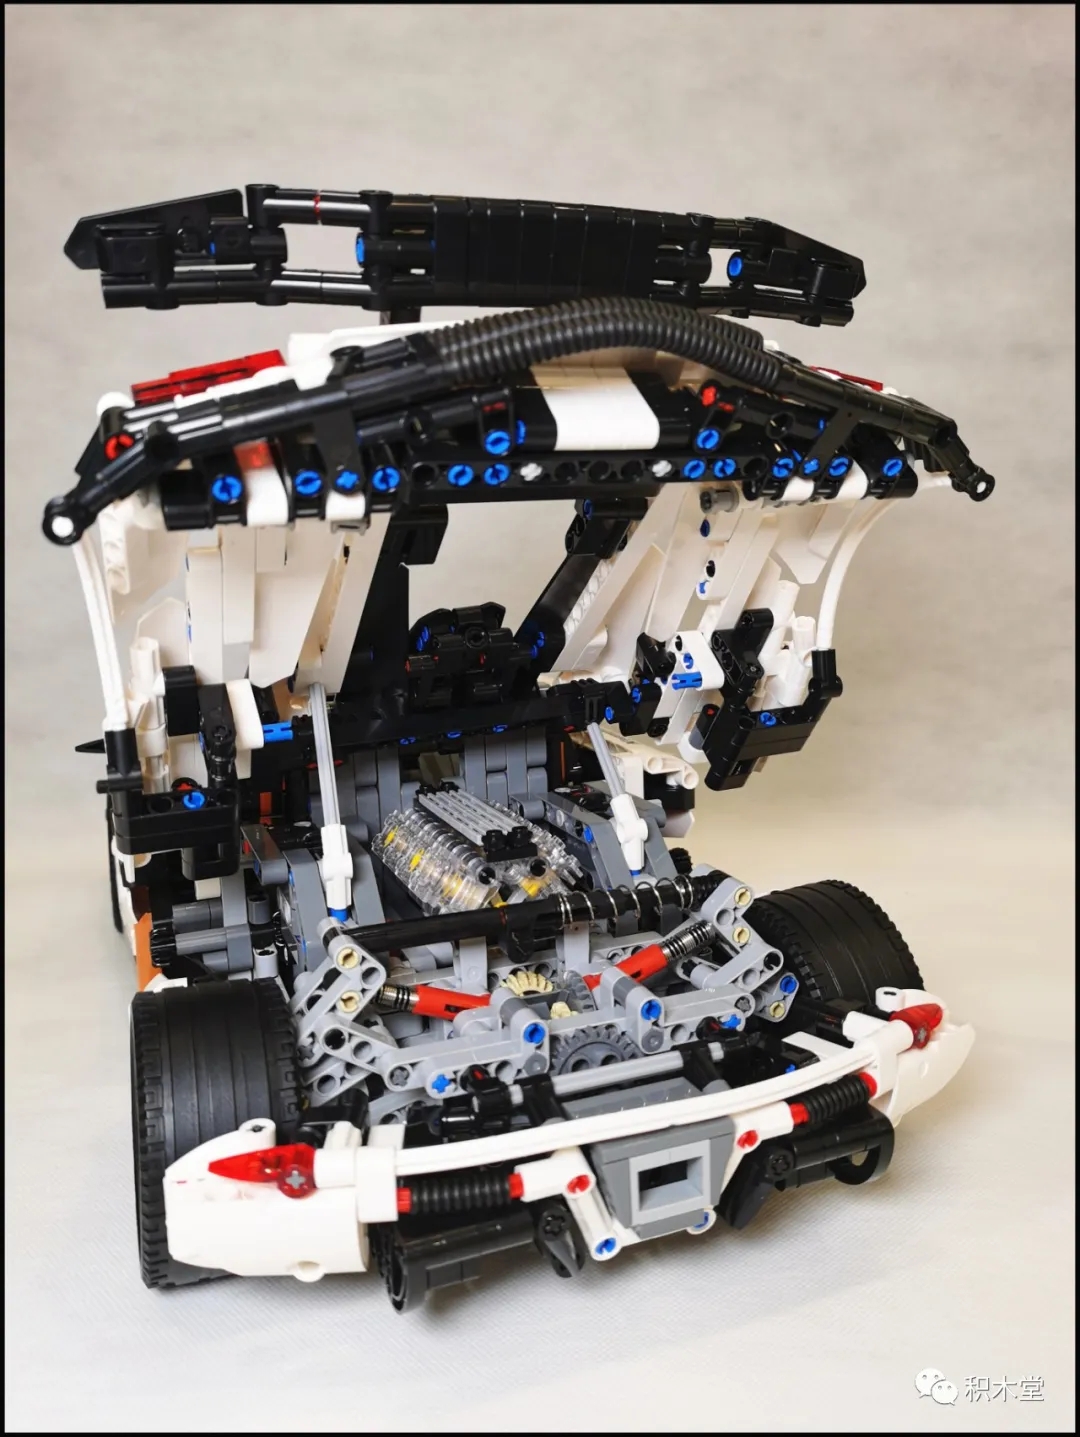
Those 2 parts are like this
The transparent engine is really good-looking.
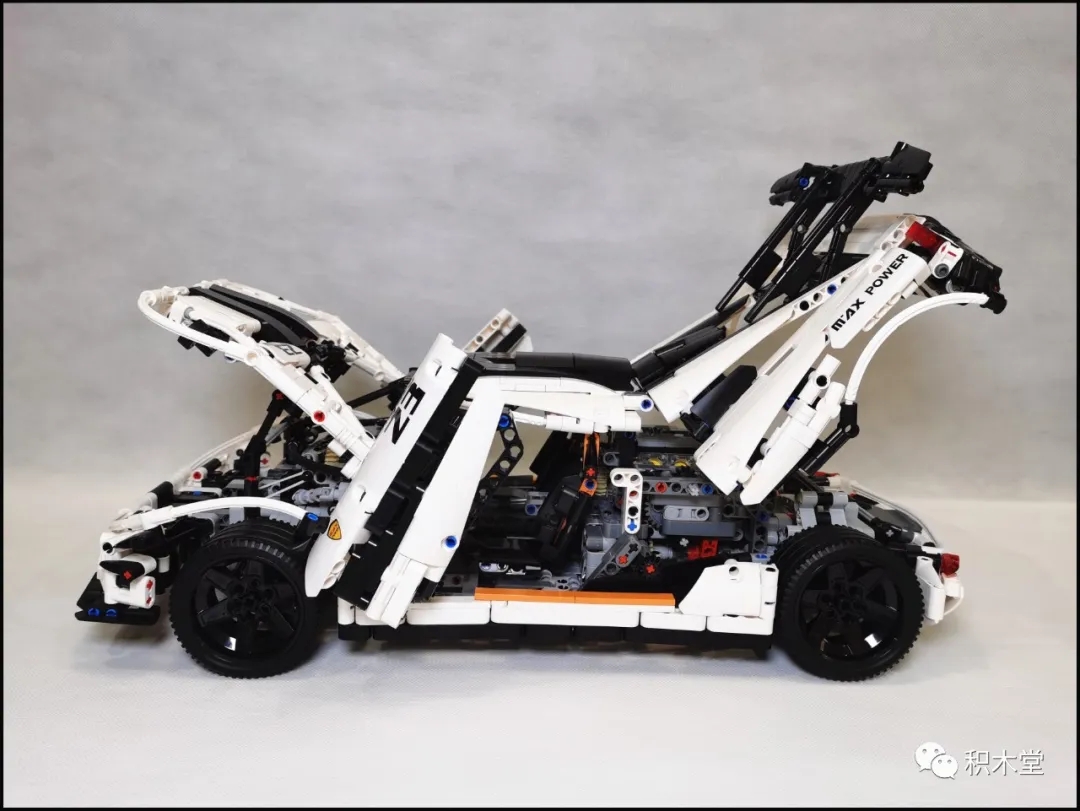
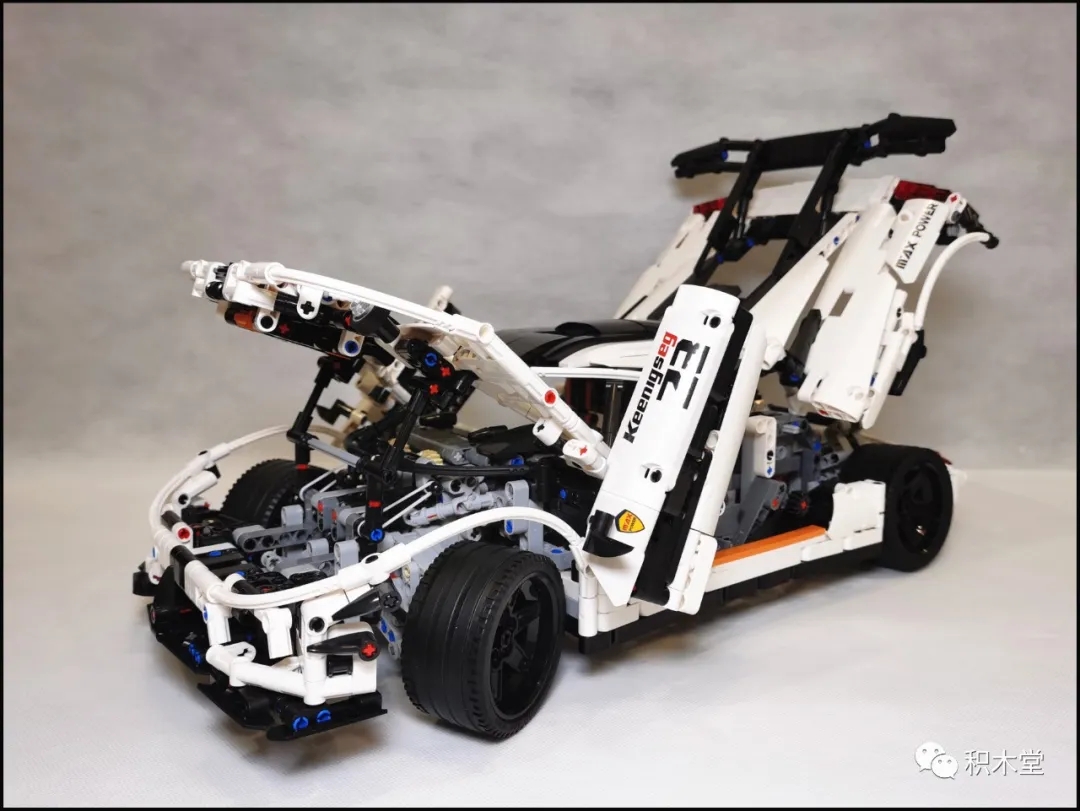
After opening all, it is like this.
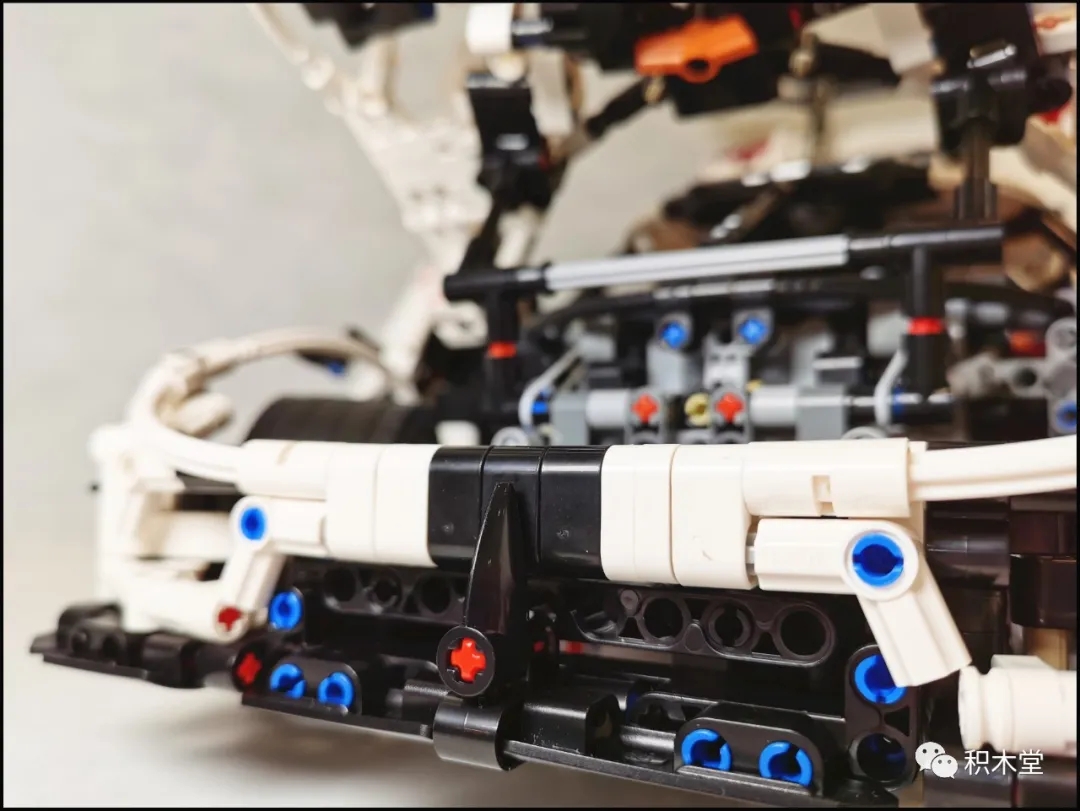
The door is controlled by these 2 gears to open and close
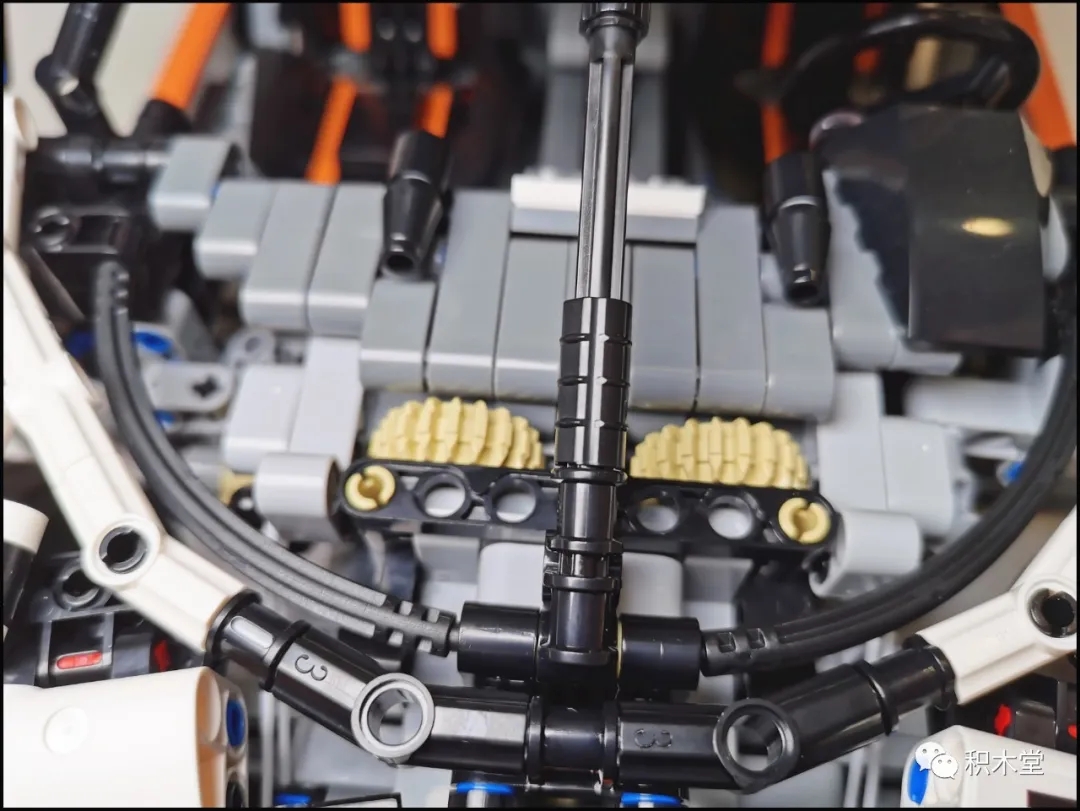
Soul foot line!!!! This orange is really very very soul.
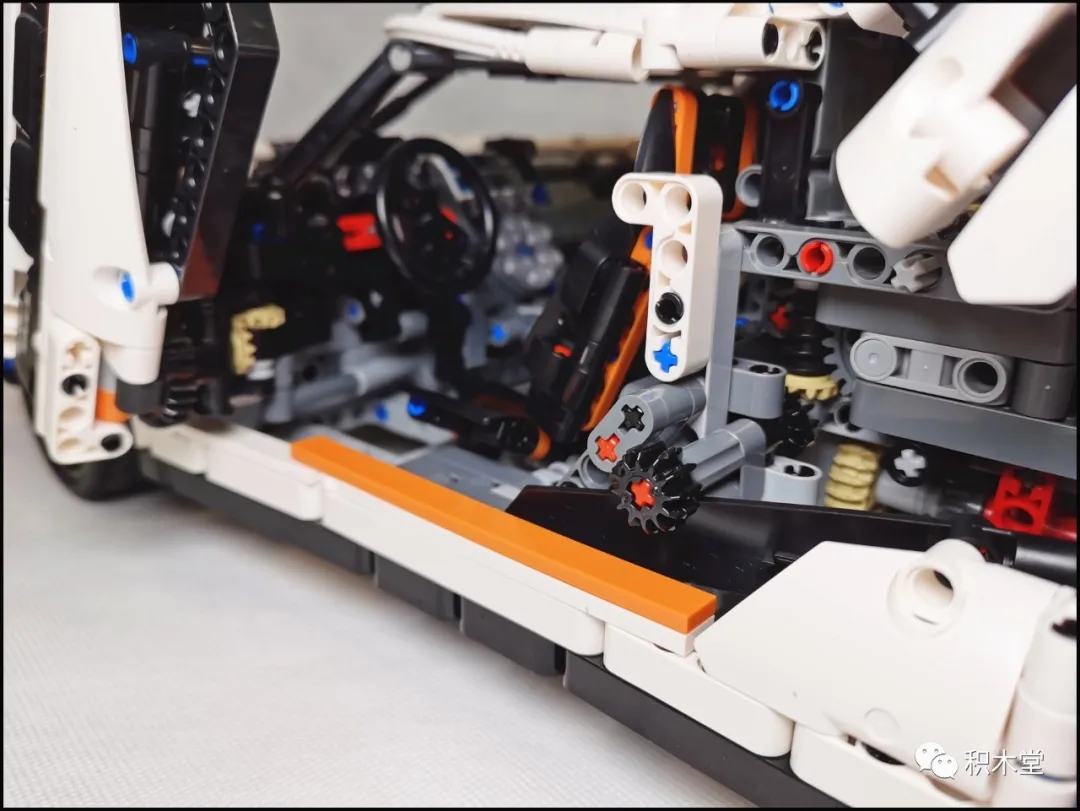
Car interior
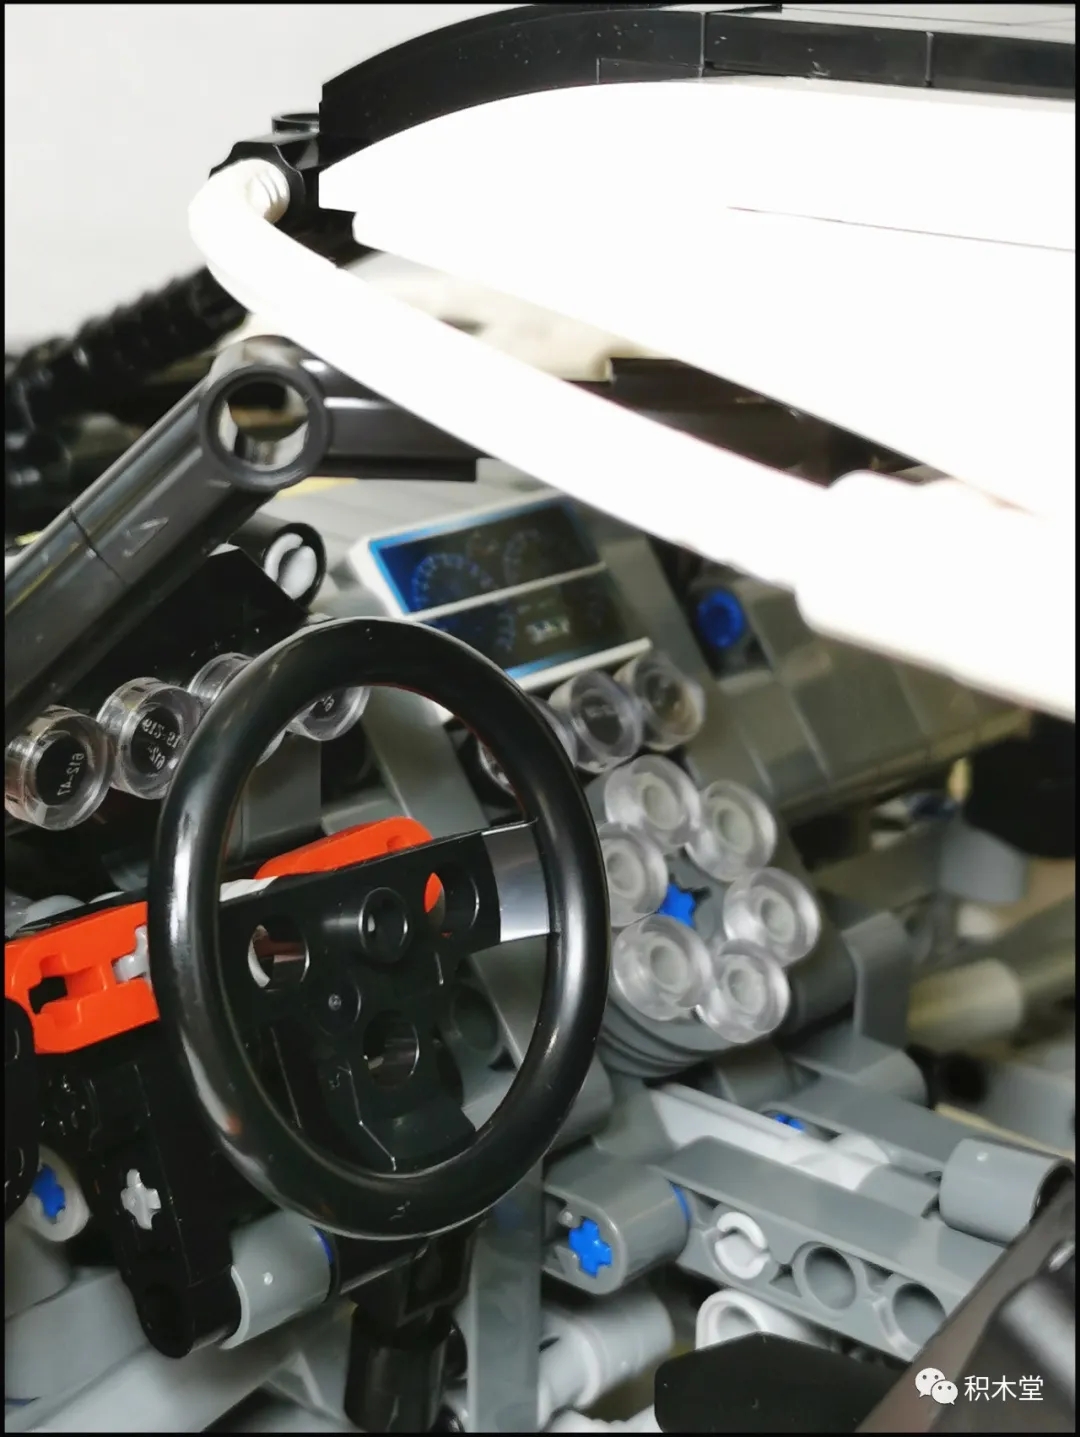
The fat editor summarizes:
Star rating is just a personal opinion of the editor, do not like it
(5 points highest)
Appearance: 5
Difficulty: 4
Structure: 4
Brick quality: 4.9
Color difference: no
Glitch: No
Recommended purchase level: 5
(5 points highest)
First summarize the need to pay attention to the situation:
1. Step 152 requires the rubber band to be in bag 6
2. The red gear lever on the 2 sides of step 59 will not be connected until step 468. The front is easy to fall. It is recommended to add 2 cross buckles to prevent it from falling out. Or remove the 2 red gear levers
3, 97 steps, 102 steps, using carbon fiber, experience the temptation to the extreme
4,109 steps, the spring has a comparison chart
5,573 steps, drawing error, more appearance parts
Step 6, 683, when inserting the car door, the cross shaft in the middle must be a positive cross, and there is a picture above
7,794 steps, one more black bolt should be inserted in the position where the picture is blocked
8,914 steps, 3 hoses are of wrong length, need to be cut, there is a picture above
Step 9, 979, the rubber ring for the car lights is in the wheel bag.
First of all, in terms of drawings, because this is a moc work, many of them are anti-human and not friendly to novices or tech novices. But the finished product is really handsome and explosive. All the pain will turn into amazing in the end. There are more places to be adjusted and more places to pay attention to. But in fact, this is a way for everyone to make progress. Look at the drawings more carefully. Experience more. Compared with the simplification of Lego, the editor feels that the structure of moc works can be learned more. This time Koenigsegg is not too difficult, as long as you are careful, you can do it well.


